Collecting The Console
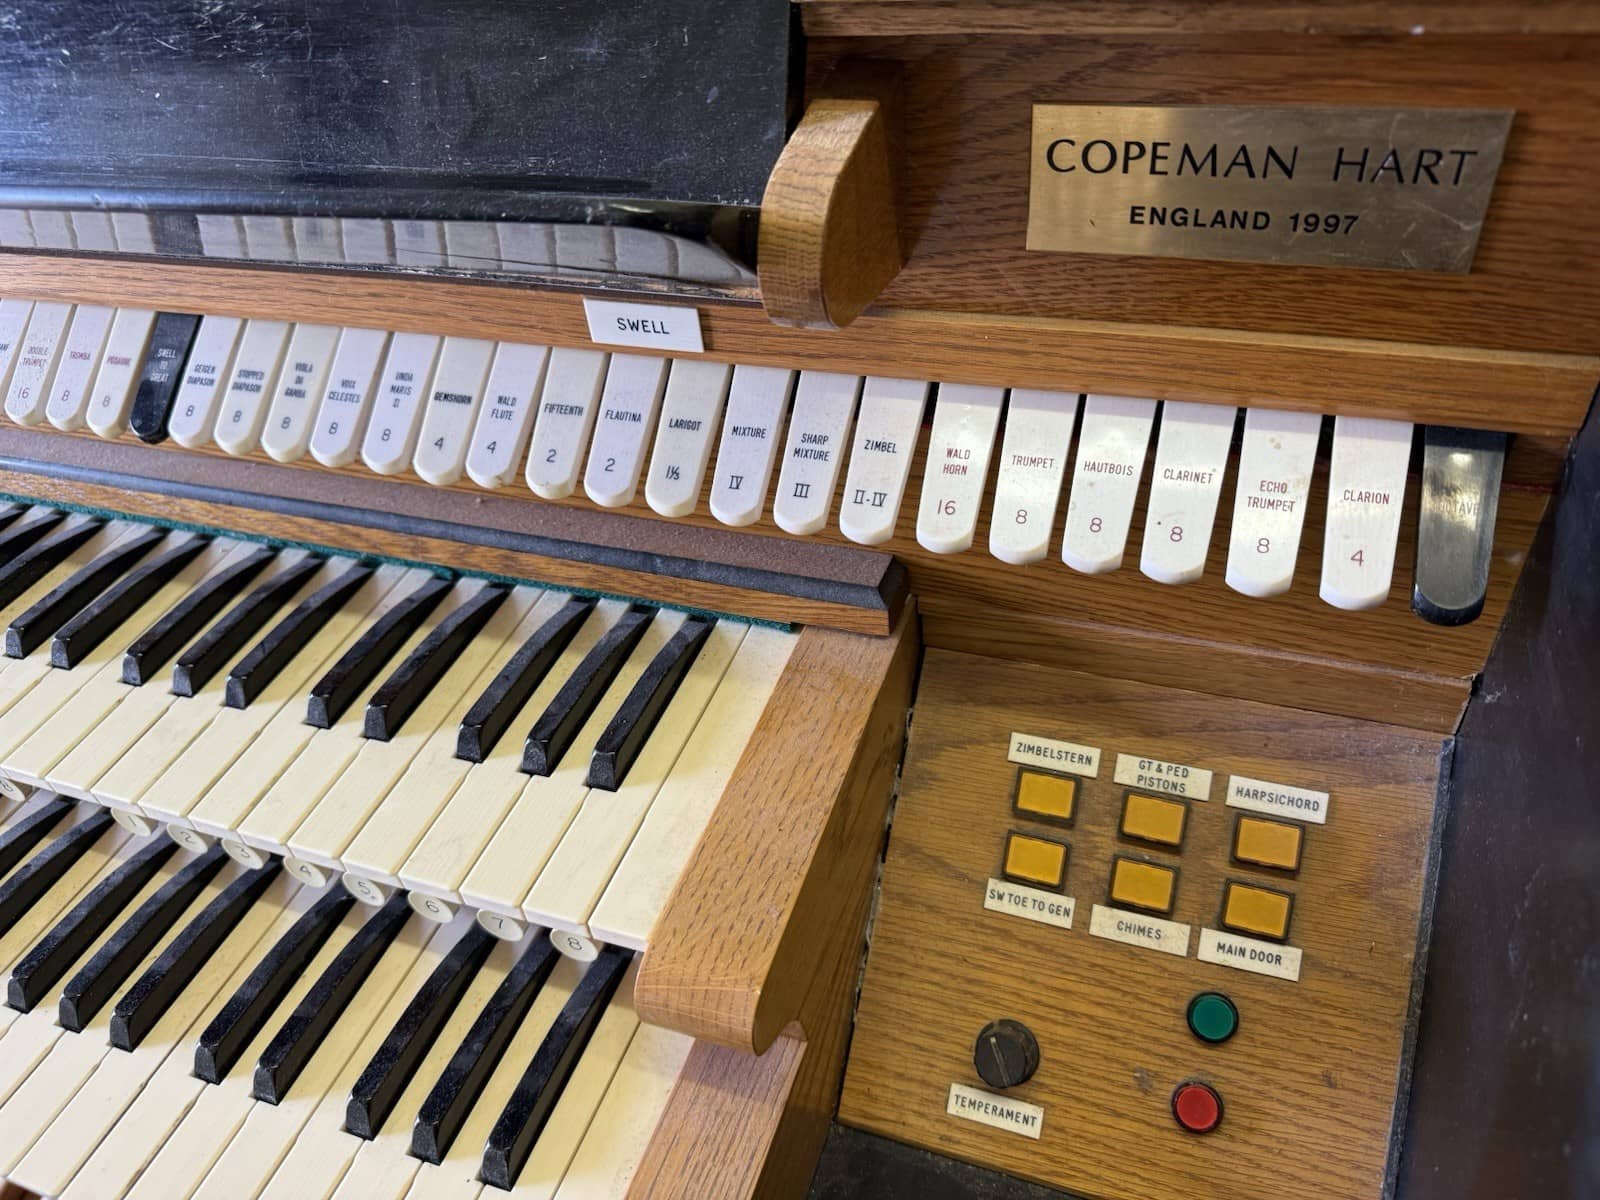
After losing my old (and admittedly cheap) home console to a myriad of technical issues and requiring a rewire amongst other things, I had been without an organ console to practice on for quite some time. eBay is always a good place to keep your eyes on for older / unwanted consoles and this was certainly no exception. For an absolute steal of a price that represents less than 5% of what the initial purchase price was when new, I managed to secure this lovely Copeman Hart digital organ console from 1997 from a refurbished piano company posting on eBay. Solid oak everywhere, wood core manuals, full suite of 50+ stop action magnets - there was no way of saying no.
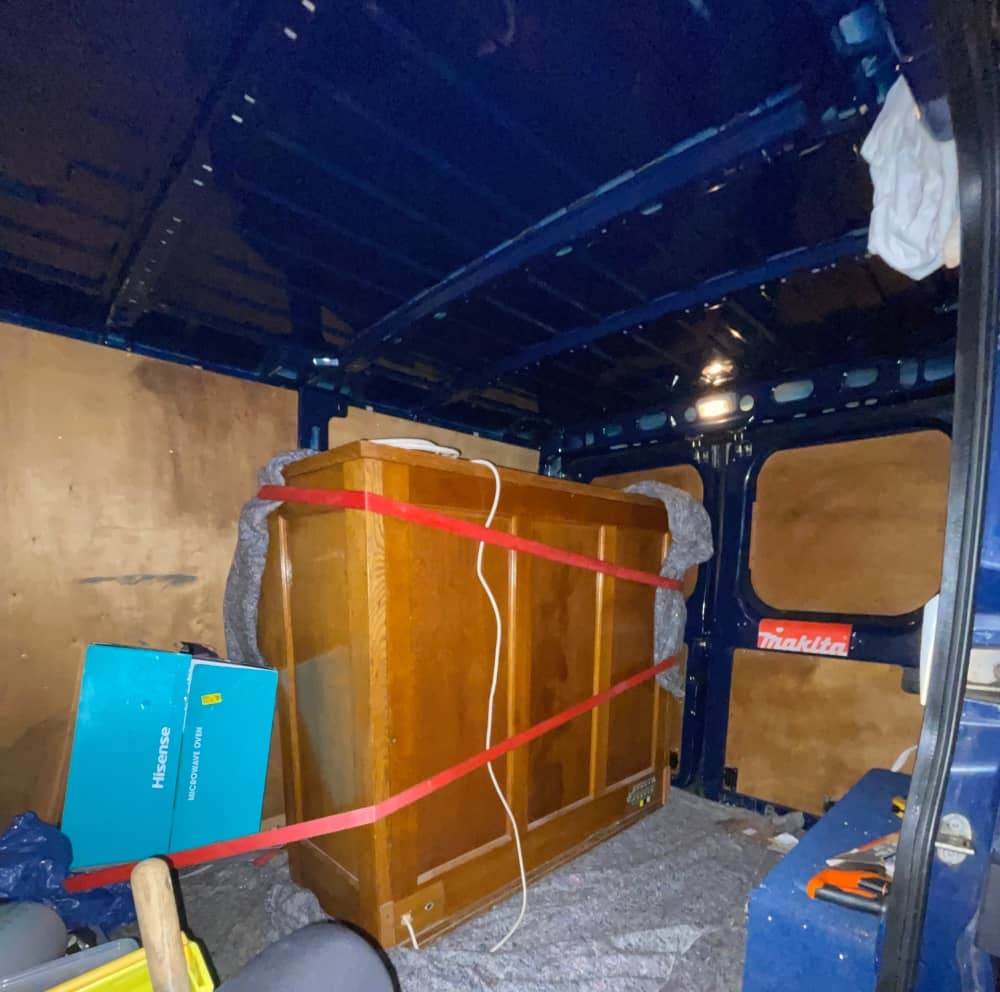
Driving a few hours down the M42 to pick up the console, I'd naively only bought one strong friend with me thinking that a digital organ couldn't possibly be as heavy as the original Compton pipe organ console it was born from - this was mistake #1. Having previously needed to move an early 1900s pipe organ console that proved to be ultimately similarly heavy - I thought without a doubt this would be considerably lighter.
Even though my friend was indeed strong (and from Poland, which makes him extra strong) between the two of us, we stood no chance with the nigh on 300kg console. I'd bought moving straps and a woefully undersized dolly with me which was of zero use. We stood around and I came to the realisation that I would need to dismantle the console - it in itself an extremely length task that would take at minimum 8-10 hours to get it into the van, I phoned the piano company with hopes they might have some better suggestions for us and as luck would have it the piano movers they used turned up on unrelated business and took pity, in about 4 minutes flat they had the console in the back of my van. Many thanks to pianovan.co.uk for that as without, it would have been a very very long day.
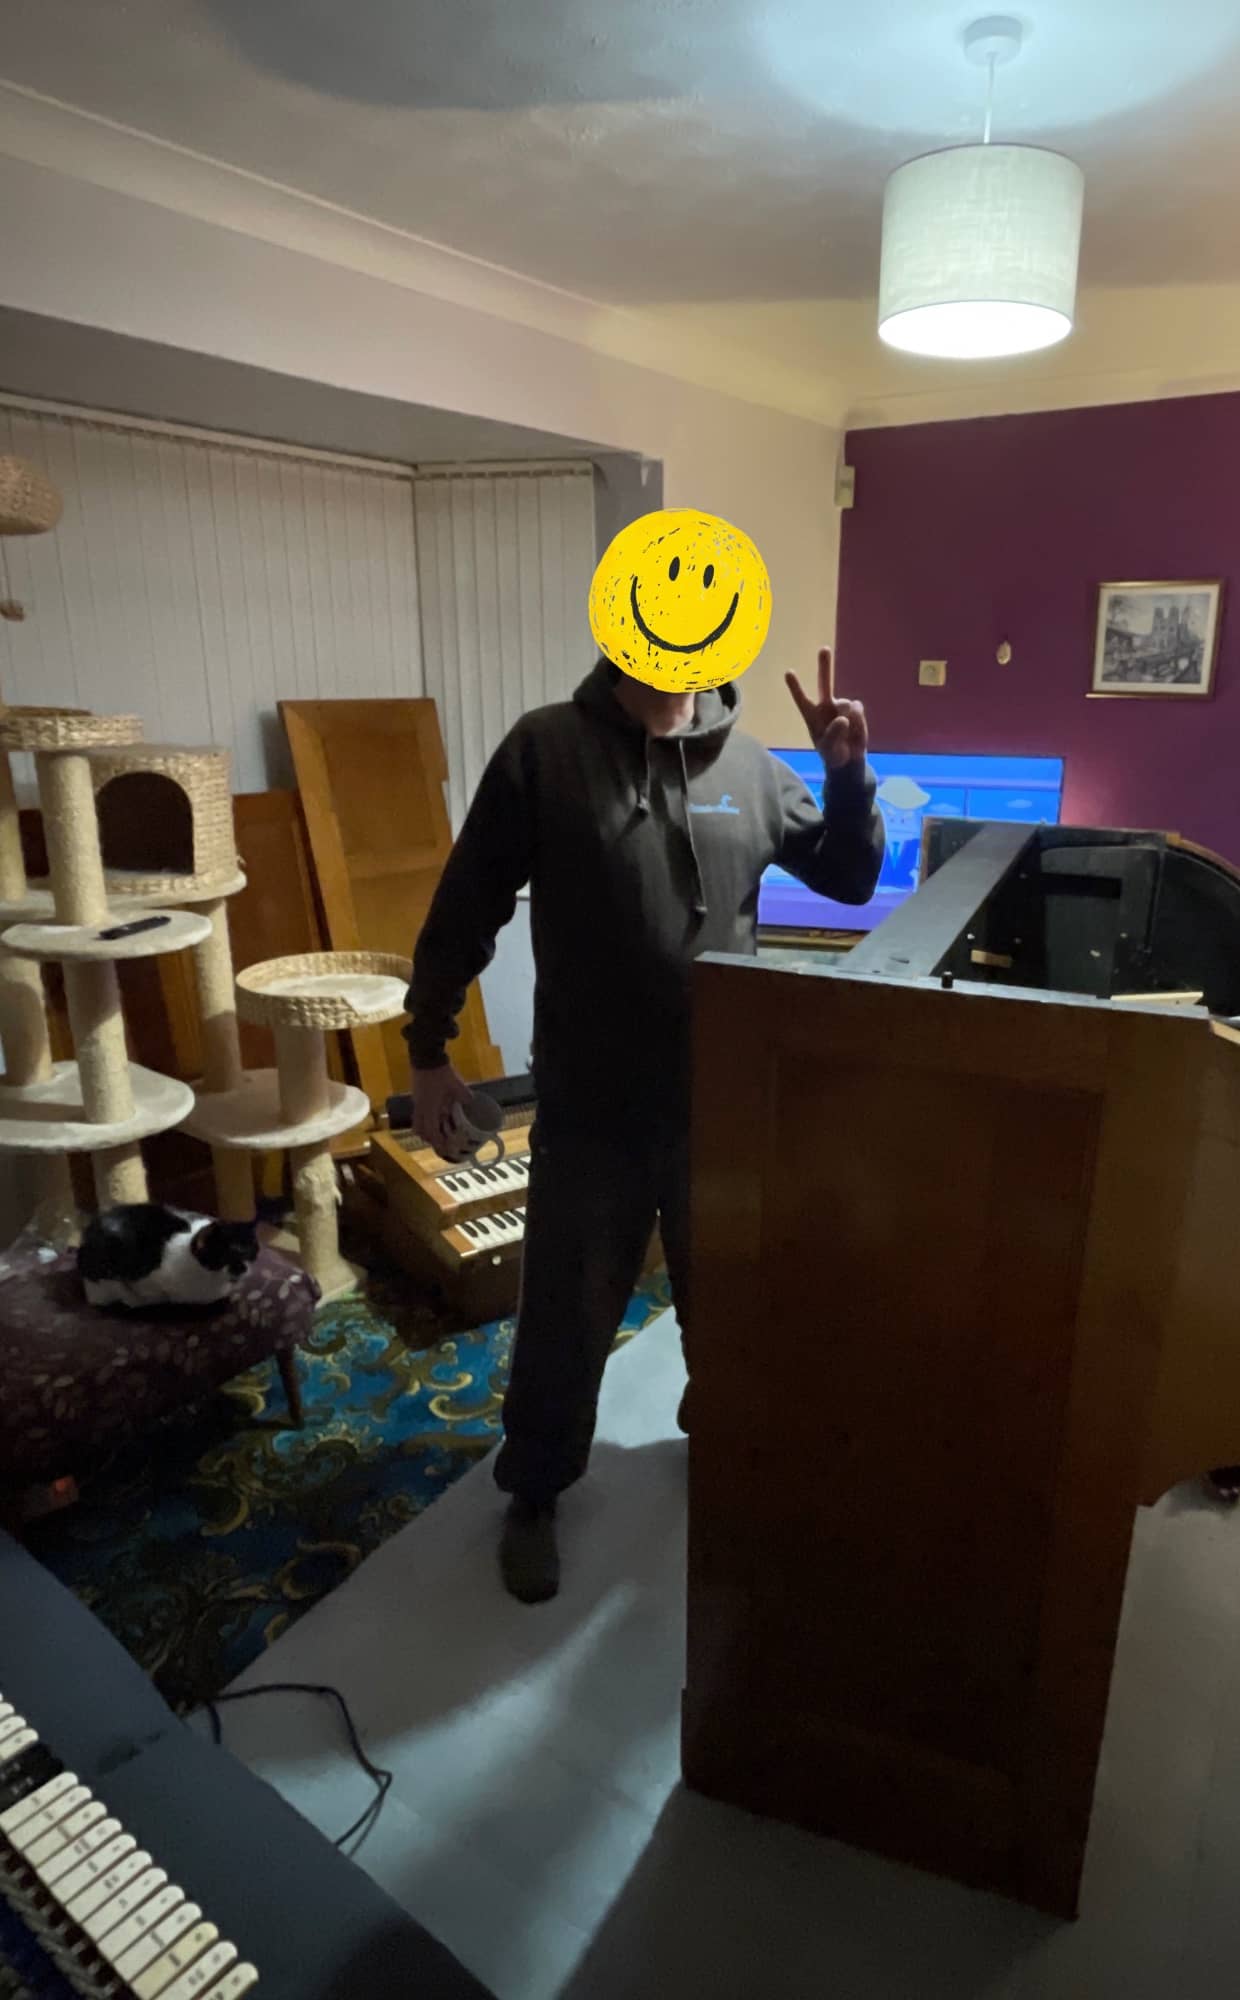
My friend Patryk (just over 6ft) for scale:


Getting The Console In The House
A quick jaunt home, and I could get to measuring with exact measurements (the seller had unfortunately only been able to approximate the size) and it was only then that I realised that the console was about 10cm too wide to fit through even my widest door in the house. This was mistake #2
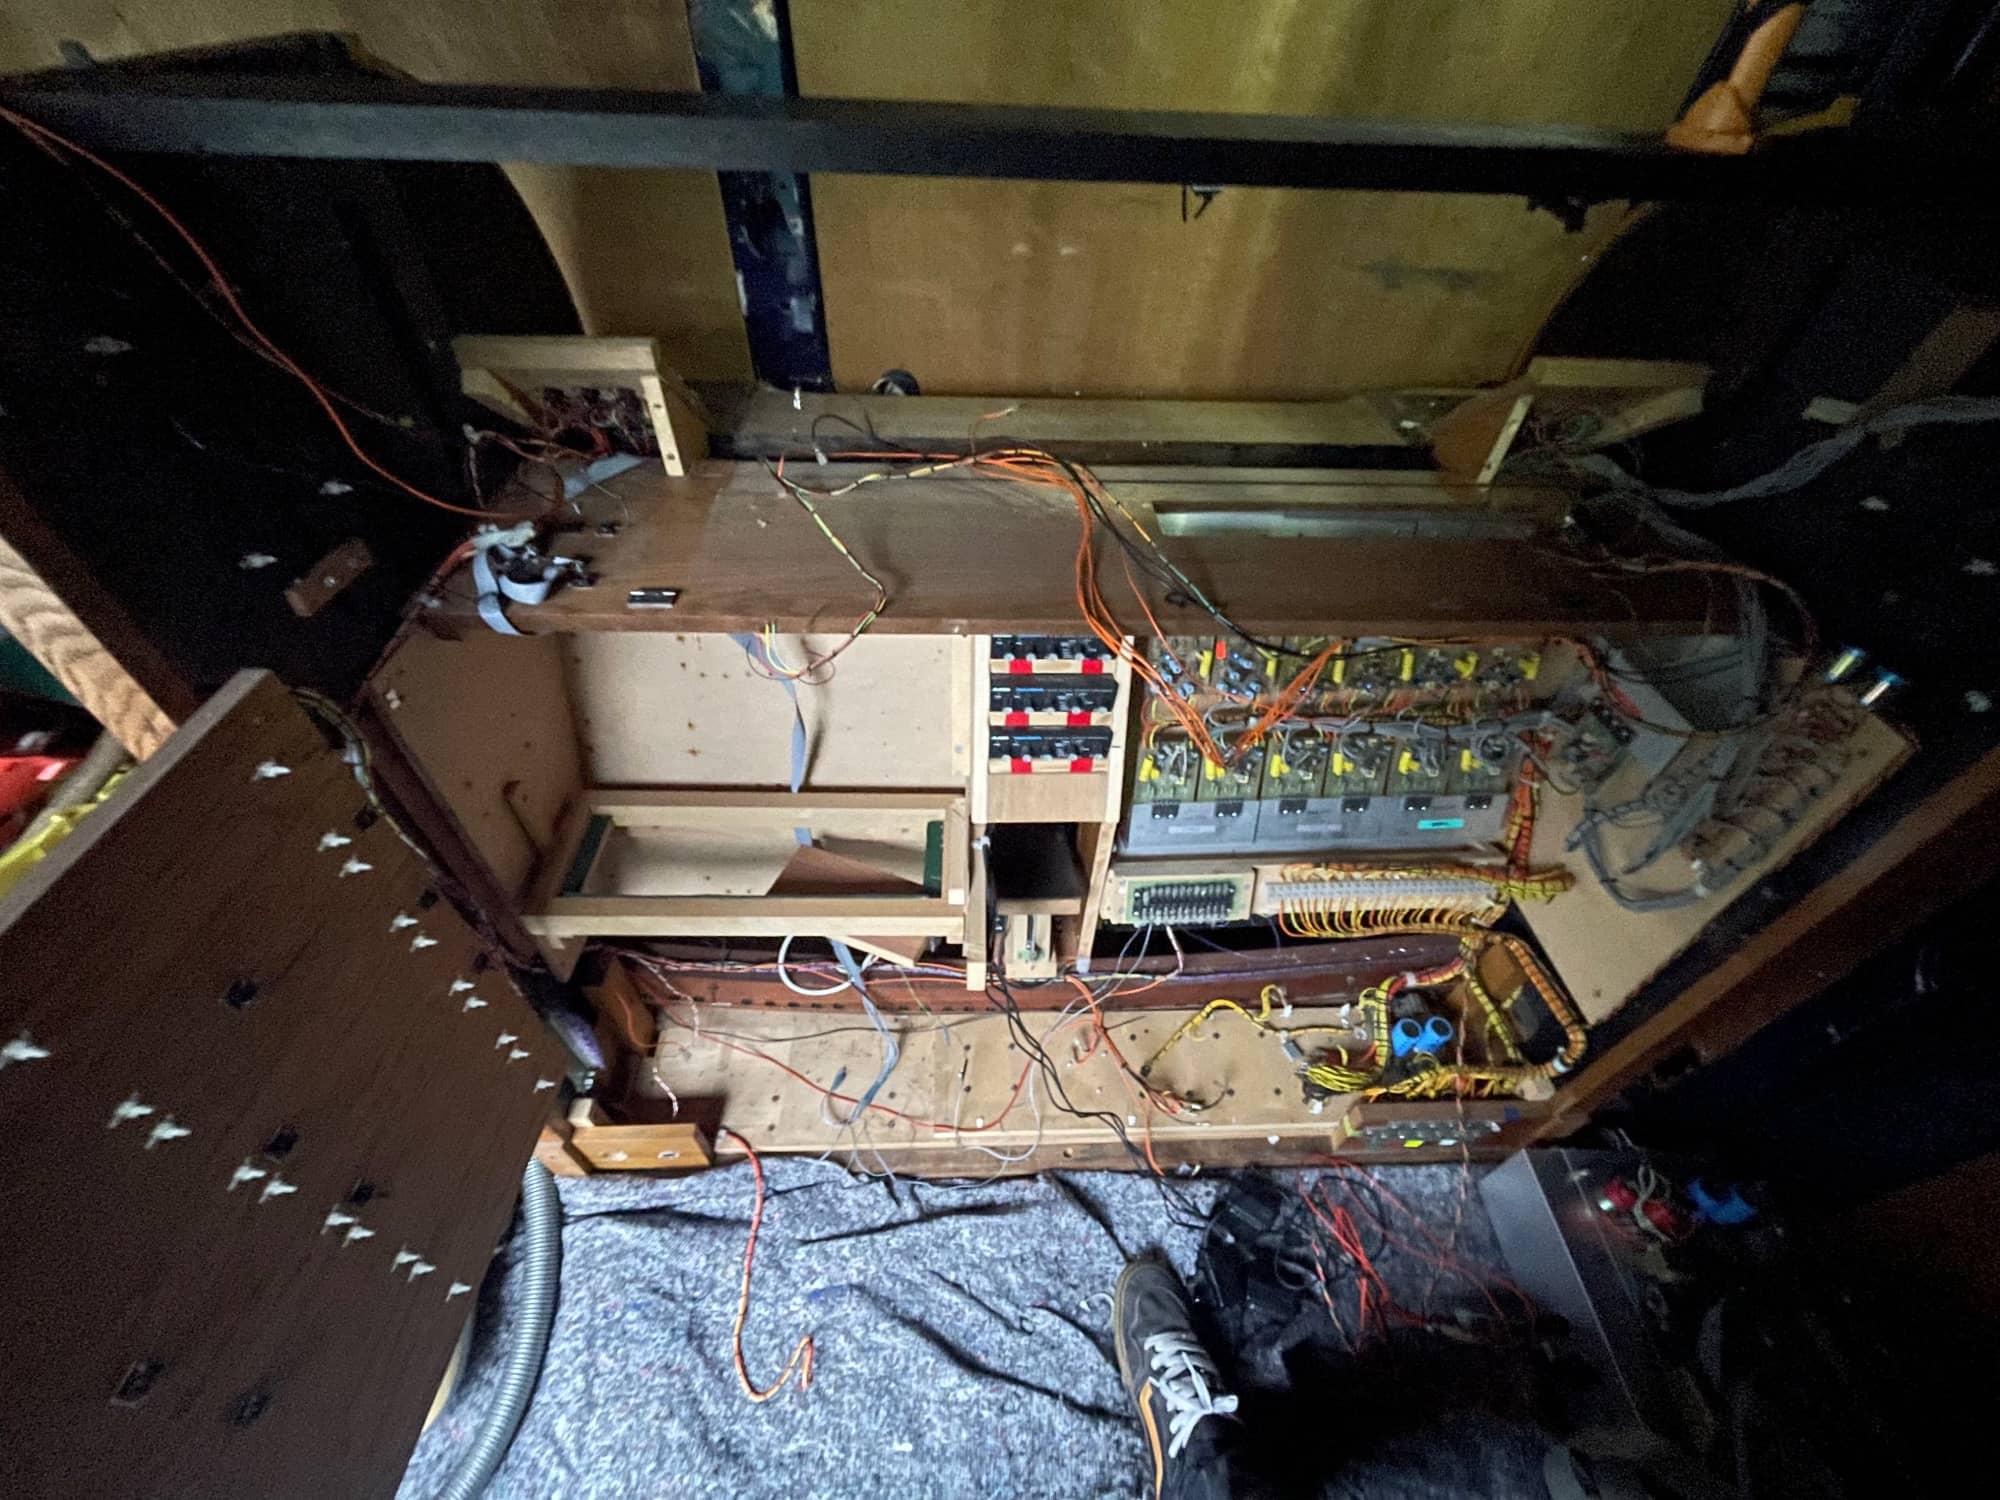
Resigning myself to having to dismantle the entire console, down to every last screw and cable with no shortcuts in sight and from the back of the van no less, I set to work in removing the electronics and other innards. I knew I would not be rebuilding the console with the same electronics so while I did not have to pay super close attention to where things were coming from, it was all fairly simple and made sense once I got stuck in. Even though I would not be reusing the electronics, great care was still taken during removal to ensure they could be returned back to the organ builders as spares. In the picture below you can see the original computer system that controlled the digital sound generation, the pinboards on the left to connect the computer system to the wiring of the manuals, pedals, stops & pistons, the boards on the right are amplifiers for the organs many channel audio system, and finally power (transformers, relays, PSU etc) at the bottom.

Working over several evenings, the console was slowly but surely stripped down.

The end (of the dismantling, at least) was finally in sight. By this point the console had drawn blood several times, I'd thrown my back out lugging heavy parts, and I was praying to multiple various deities for assistance.

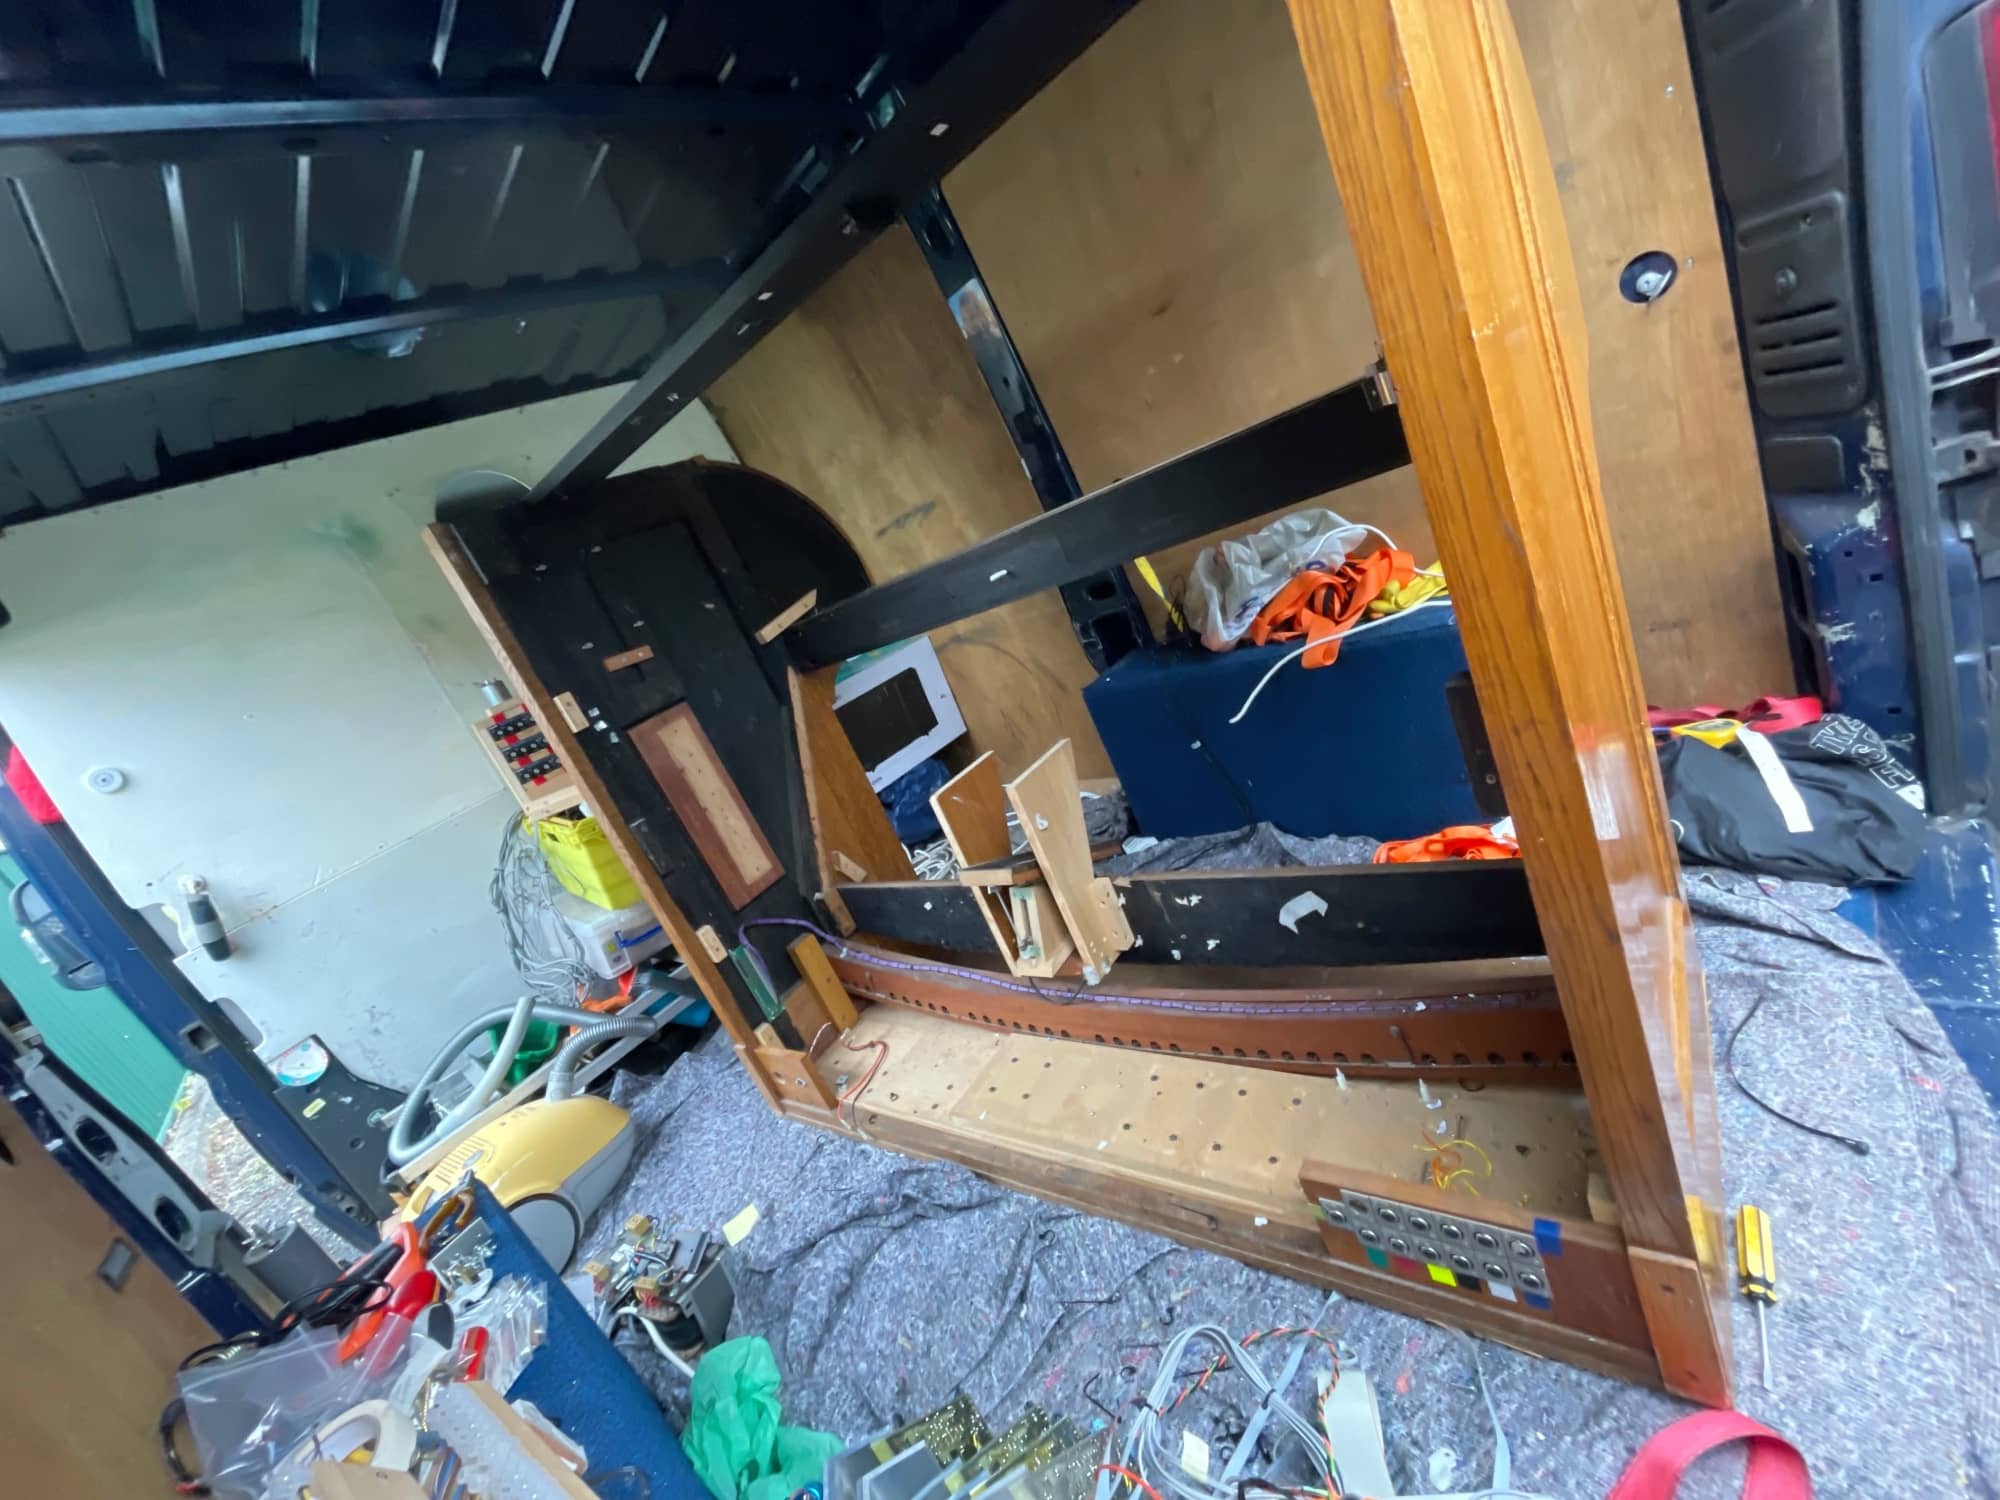
With a bit of help from another friend, we managed to separate the bottom & sides of the console from the beams that joined them and held everything together and after 5 evenings of solid work the console was finally in bits and able to be brought into the house (into the light & warmth - very welcome) - and almost immediately after it was taken apart it was straight back to putting it together again. The living room was looking more like an organ builders workshop at this time.

Rebuilding
Putting the console parts back together went an order of magnitude quicker than taking it apart. Aided by both knowledge of how it came apart, and the warmth & light of the indoors it took only 24 hours between taking it out of the van, and getting to the end of this sections pictures.
My friend Dean here, also for scale.
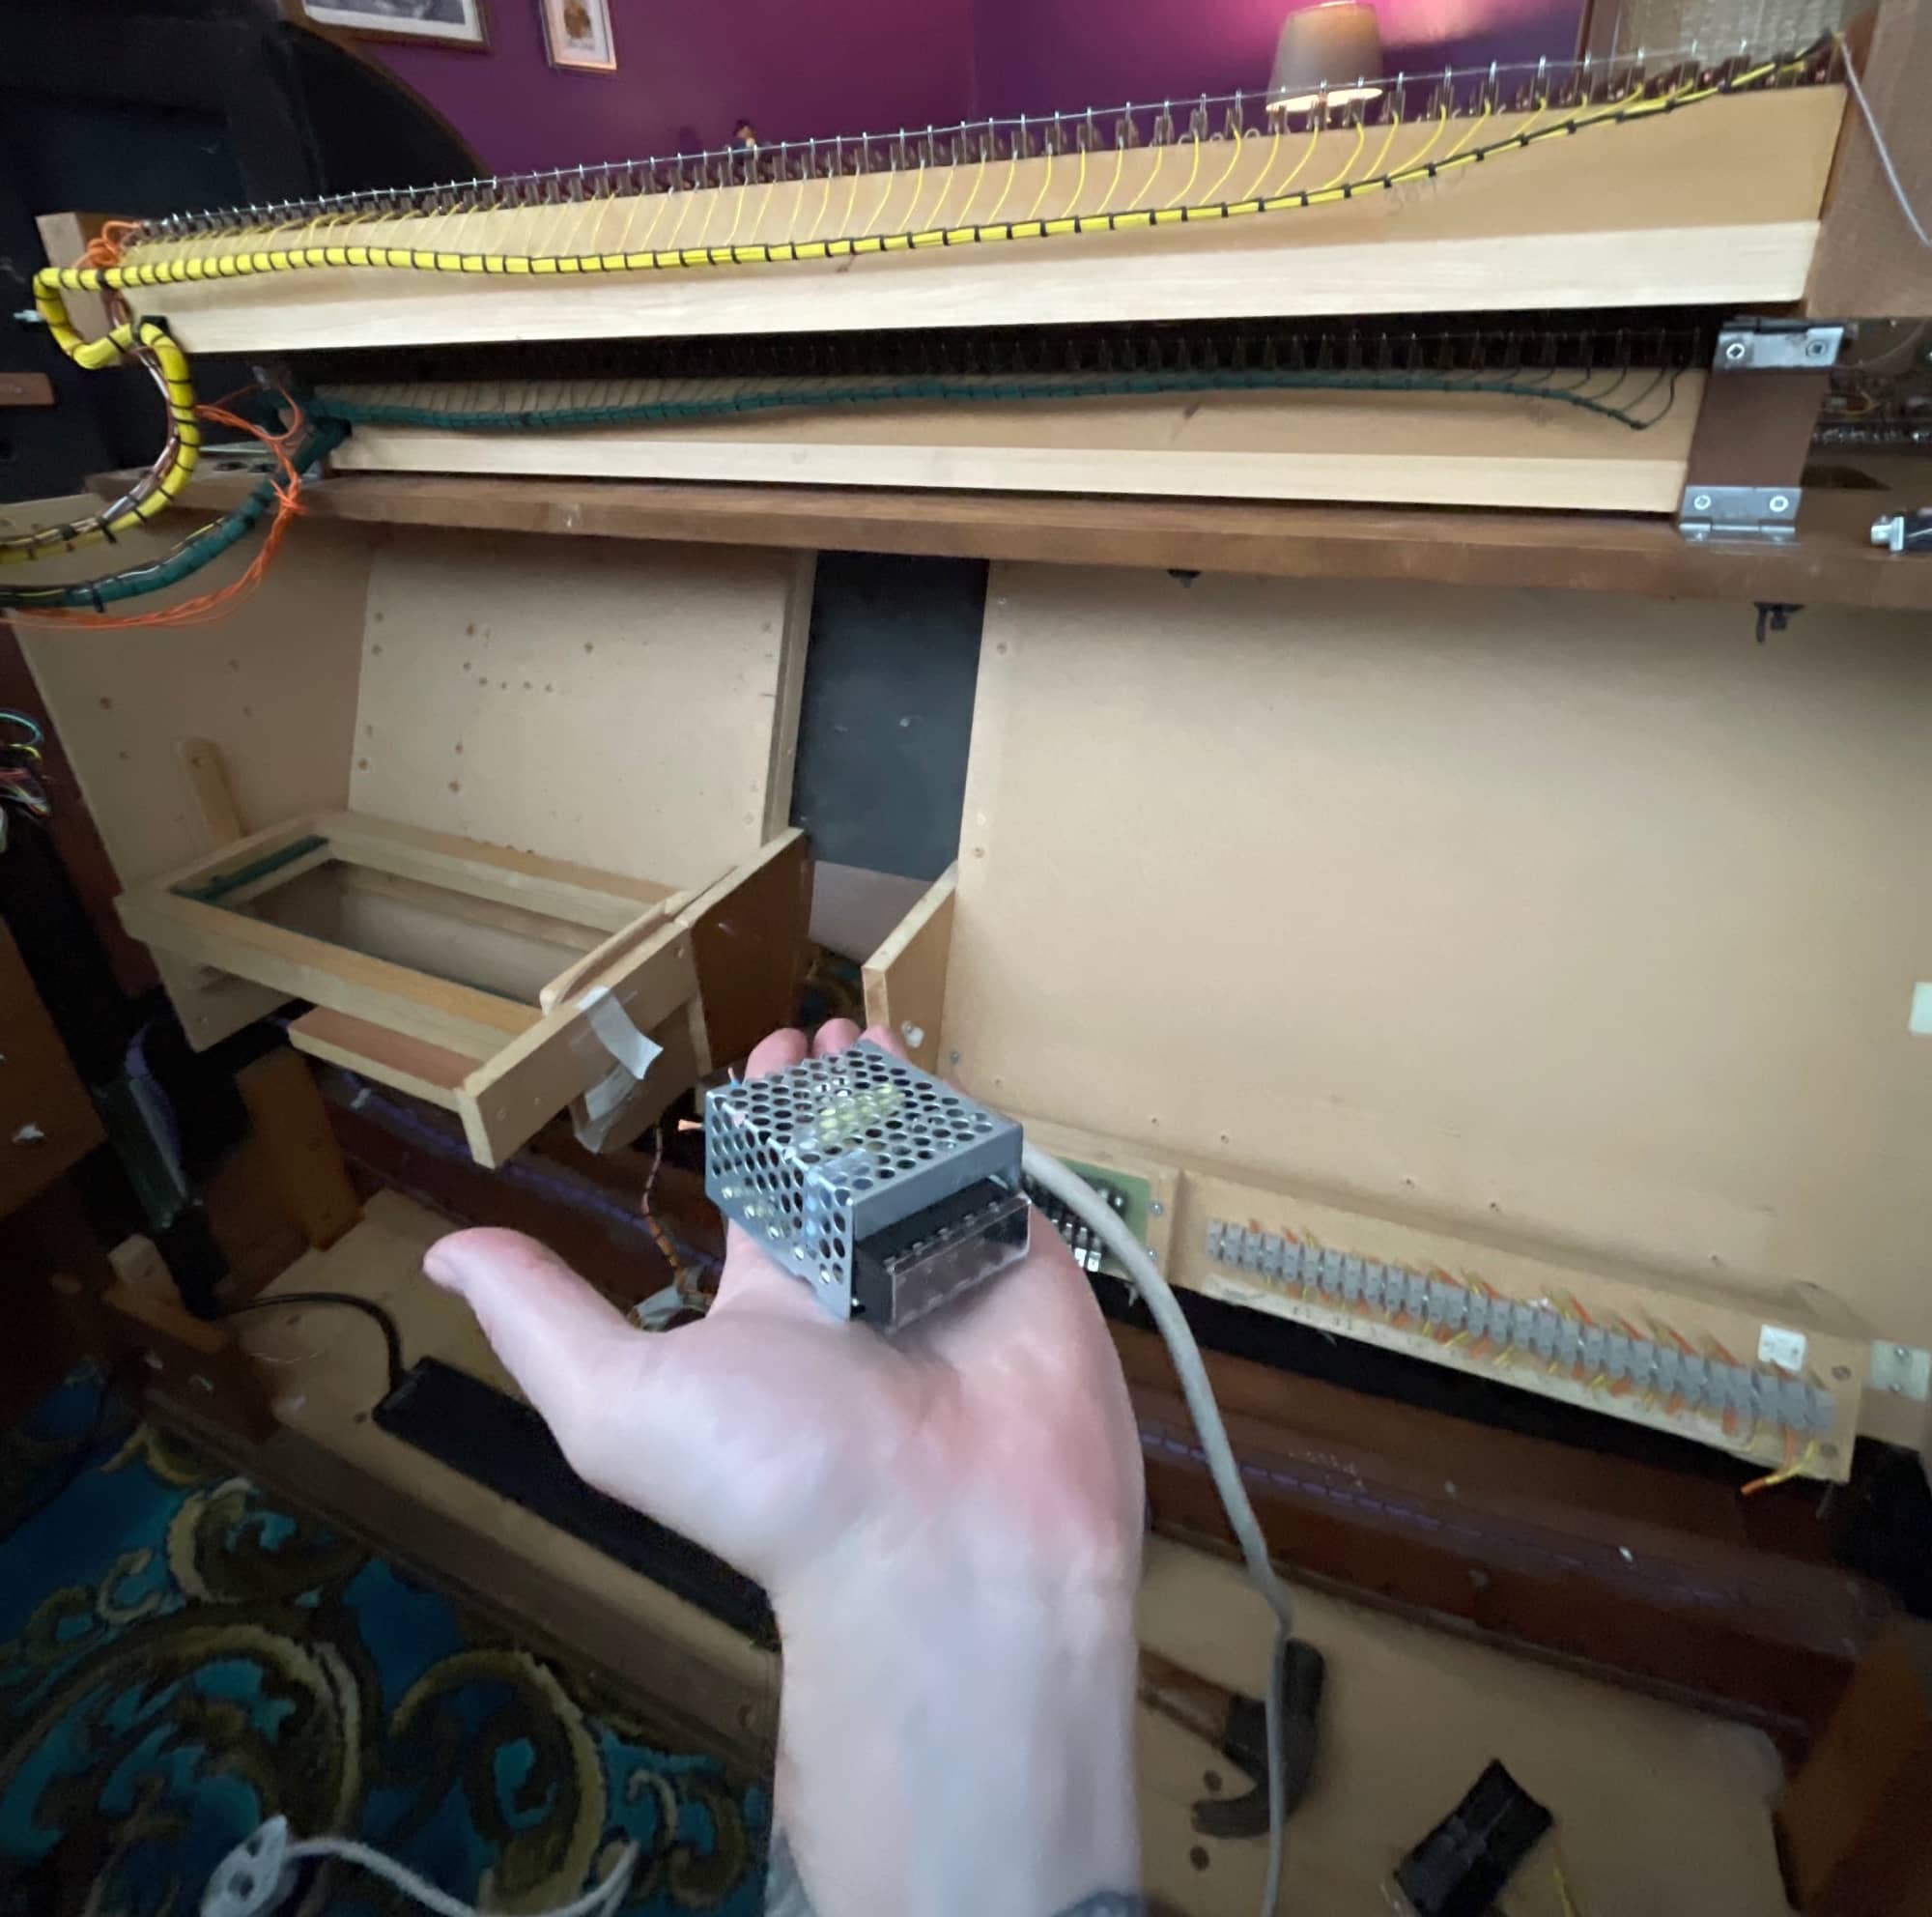
As each part went back in, it seemed to go quicker and quicker and the more that was rebuilt the more I realised there was going to be a whole heap of extra space available inside with the lack of additional electronics. The encoder boards I am using are by comparison tiny, as are the DC meanwell power supplies for them - seen in the second picture below.

Just over the course of a few hours, the console came back to life from a few pieces of solid wood back to a fully fledged organ console.

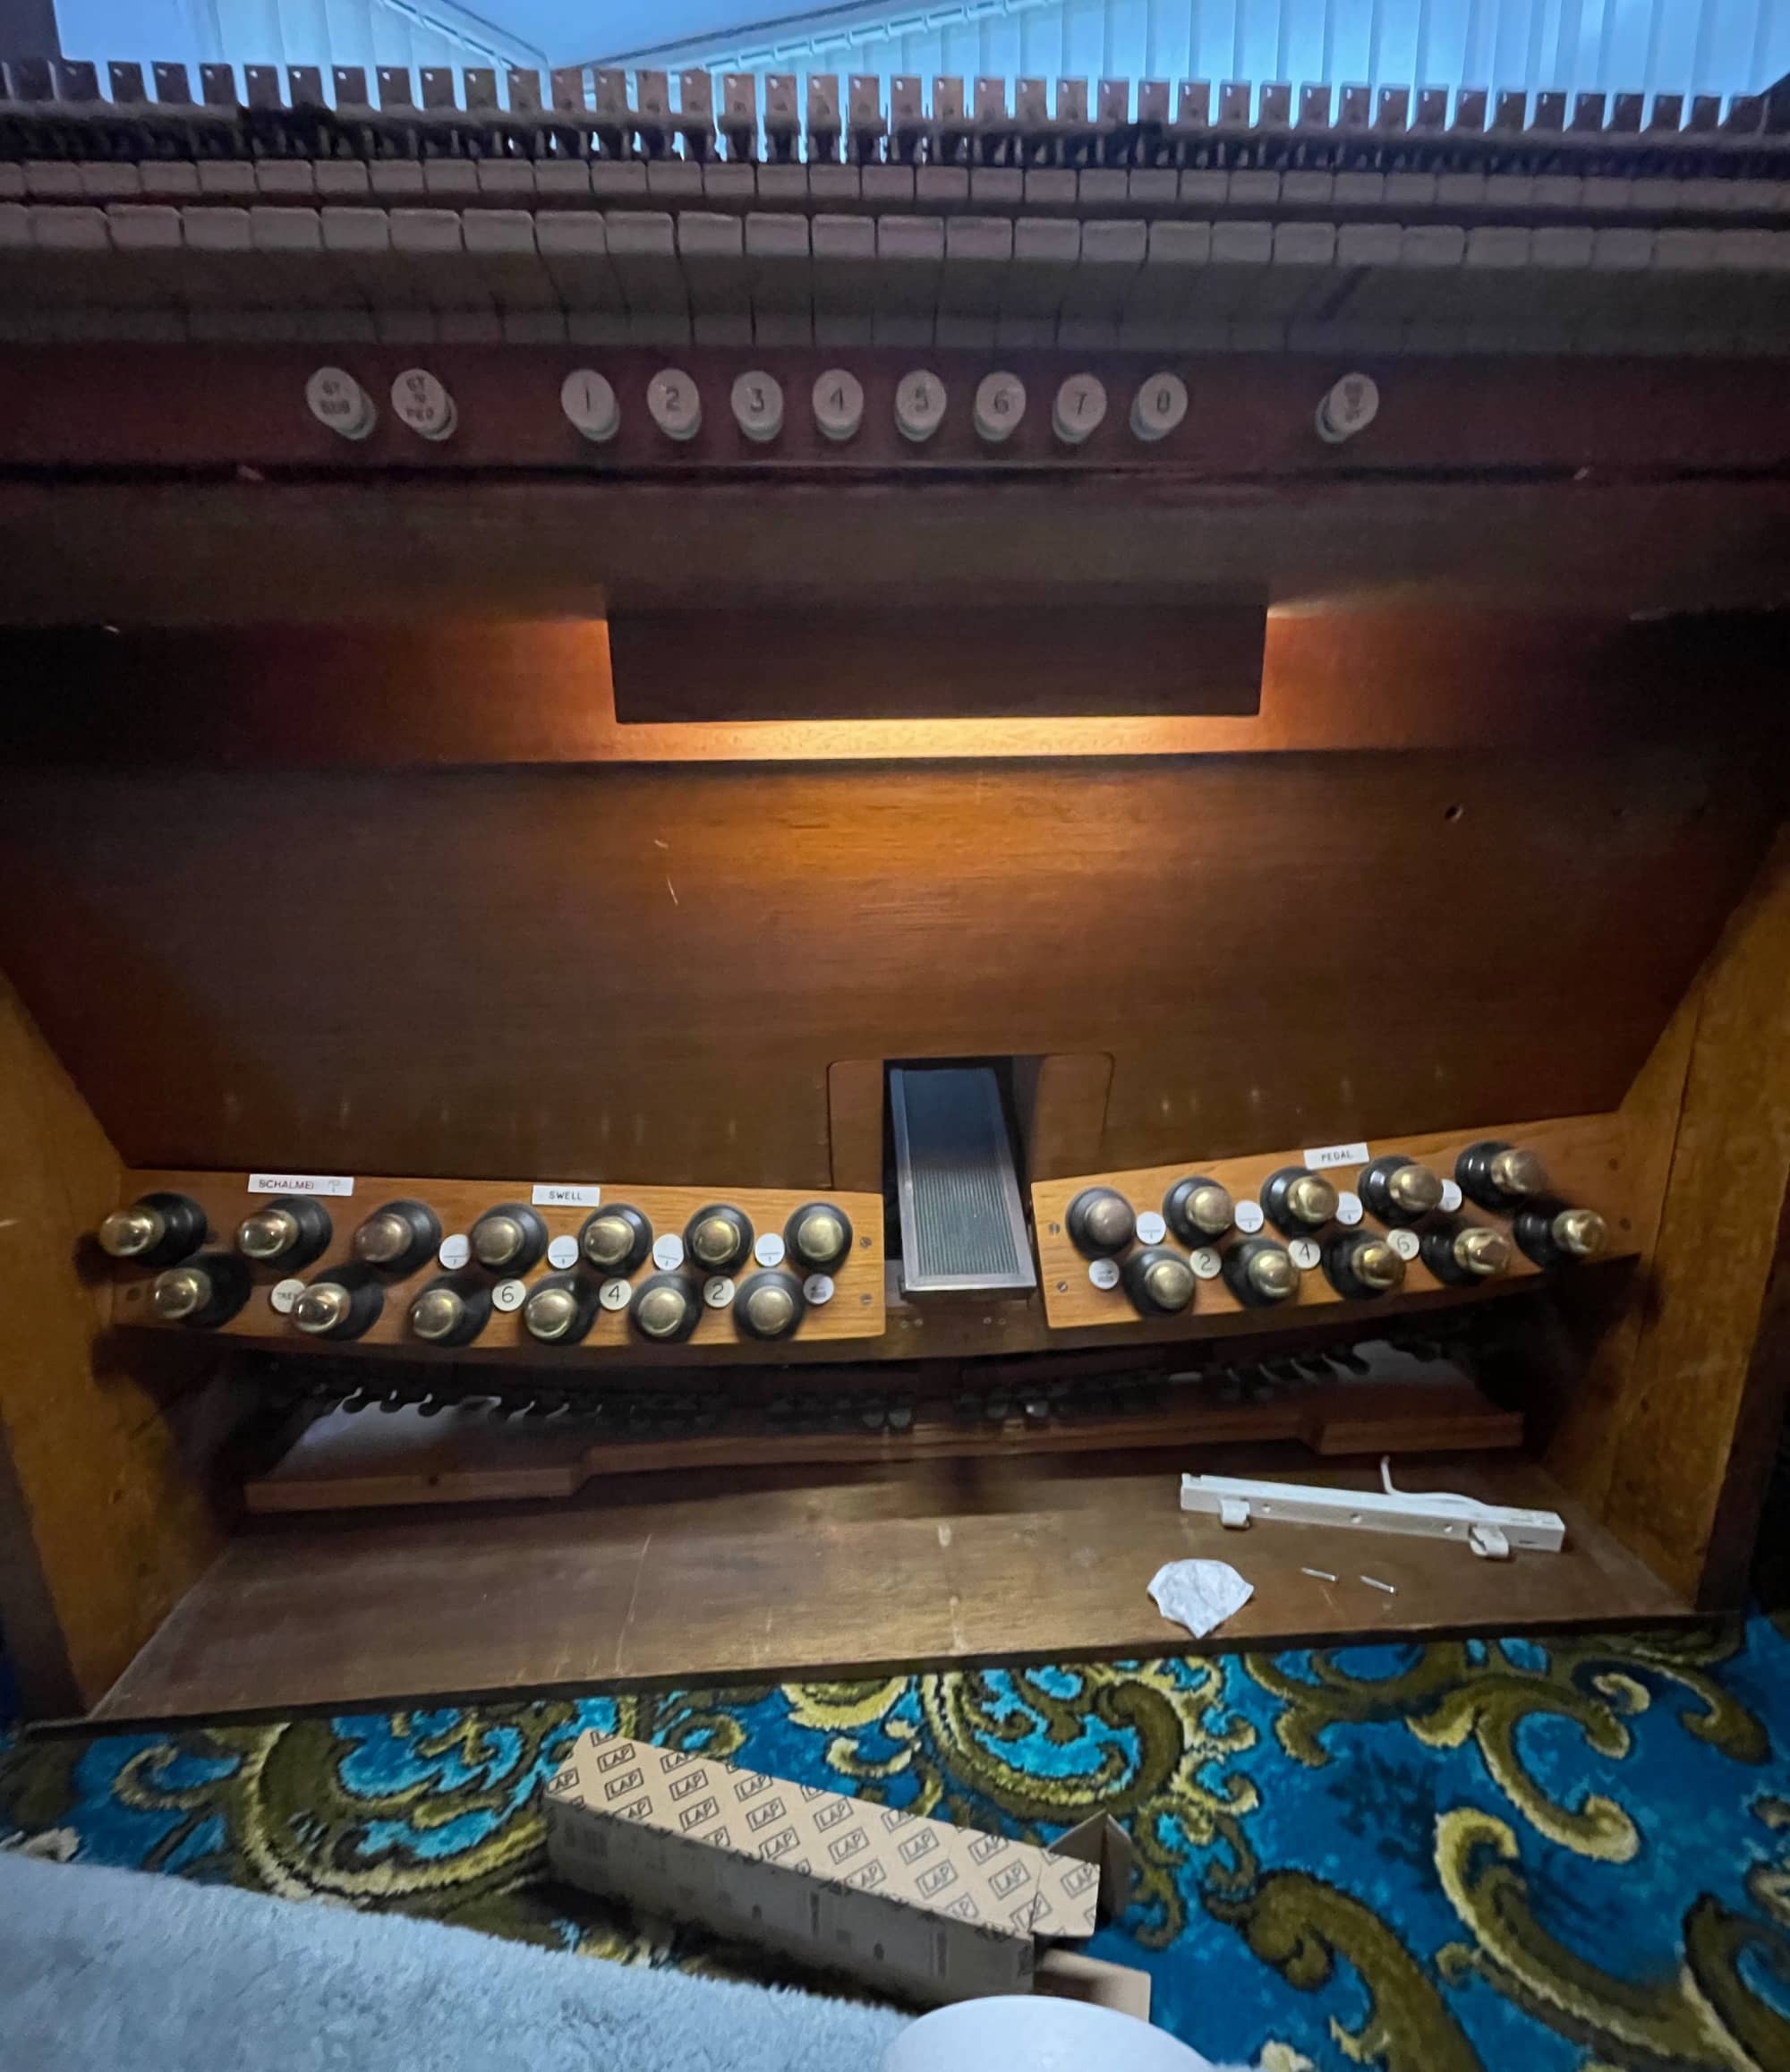
At this point I envisaged having a playable organ once again and perhaps within only a few days. Indeed the remainder of the putting parts of the console back together took very little time but the real slog was still to come with the many hours of soldering ahead. Pictures below show the stop action rail going back in, along with the foot pistons & a new light for the pedalboard area.

A few more pieces of the console and that was the last of the framing rebuilt without any issue - it's difficult to find anything that is built so solidly anymore so it's good to see how well this has been put together. A good clean at this point to get rid of the dust and it's looking better than ever.

Always tin your cables when soldering!
With all of the existing console as much back together as it was going to be, and the spare parts put to one side awaiting the organ builders collection it was now time to finalise my designs for the electronics inside. Precisely which encoders you choose will heavily depend on what console you have, and how it has been built & wired. There have been many ways of wiring manuals over the last 100 years, and while you can change how they're wired during your rebuild it is often easier to go with what you have already in place.
In my case, the manuals are wired in parallel, so each of the 61 notes gets its own wire and all 61 notes share an additional common bus line as well. Built using KimberAllen whisker contacts which are in this case silver plated (even older consoles might have phosphor bronze) and so require 12v keying, excluding any micro electronics encoders from being used which all operate around 5v.
The common bus is usually either a common 12v line or a common ground/earth/negative line and how you wire yours may be dictated by the existing console wiring if you wish to retain any use of it. Now as I wasn't going to be reusing anything from the original organs internals I decided to wire everything so that the bus was common ground. So my encoder will send 12v to the keys and when any key is pressed, it lifts the back of key which has its own silver plated wire attached and this connects the contact whiskers together and bridges the key 12v to the bus. The encoder recognises this as a note on and sends the relevant midi and again when the note is released. This has an advantage in that I can use a common ground bus for the rest of the organ, bringing everything back to a centralised point.
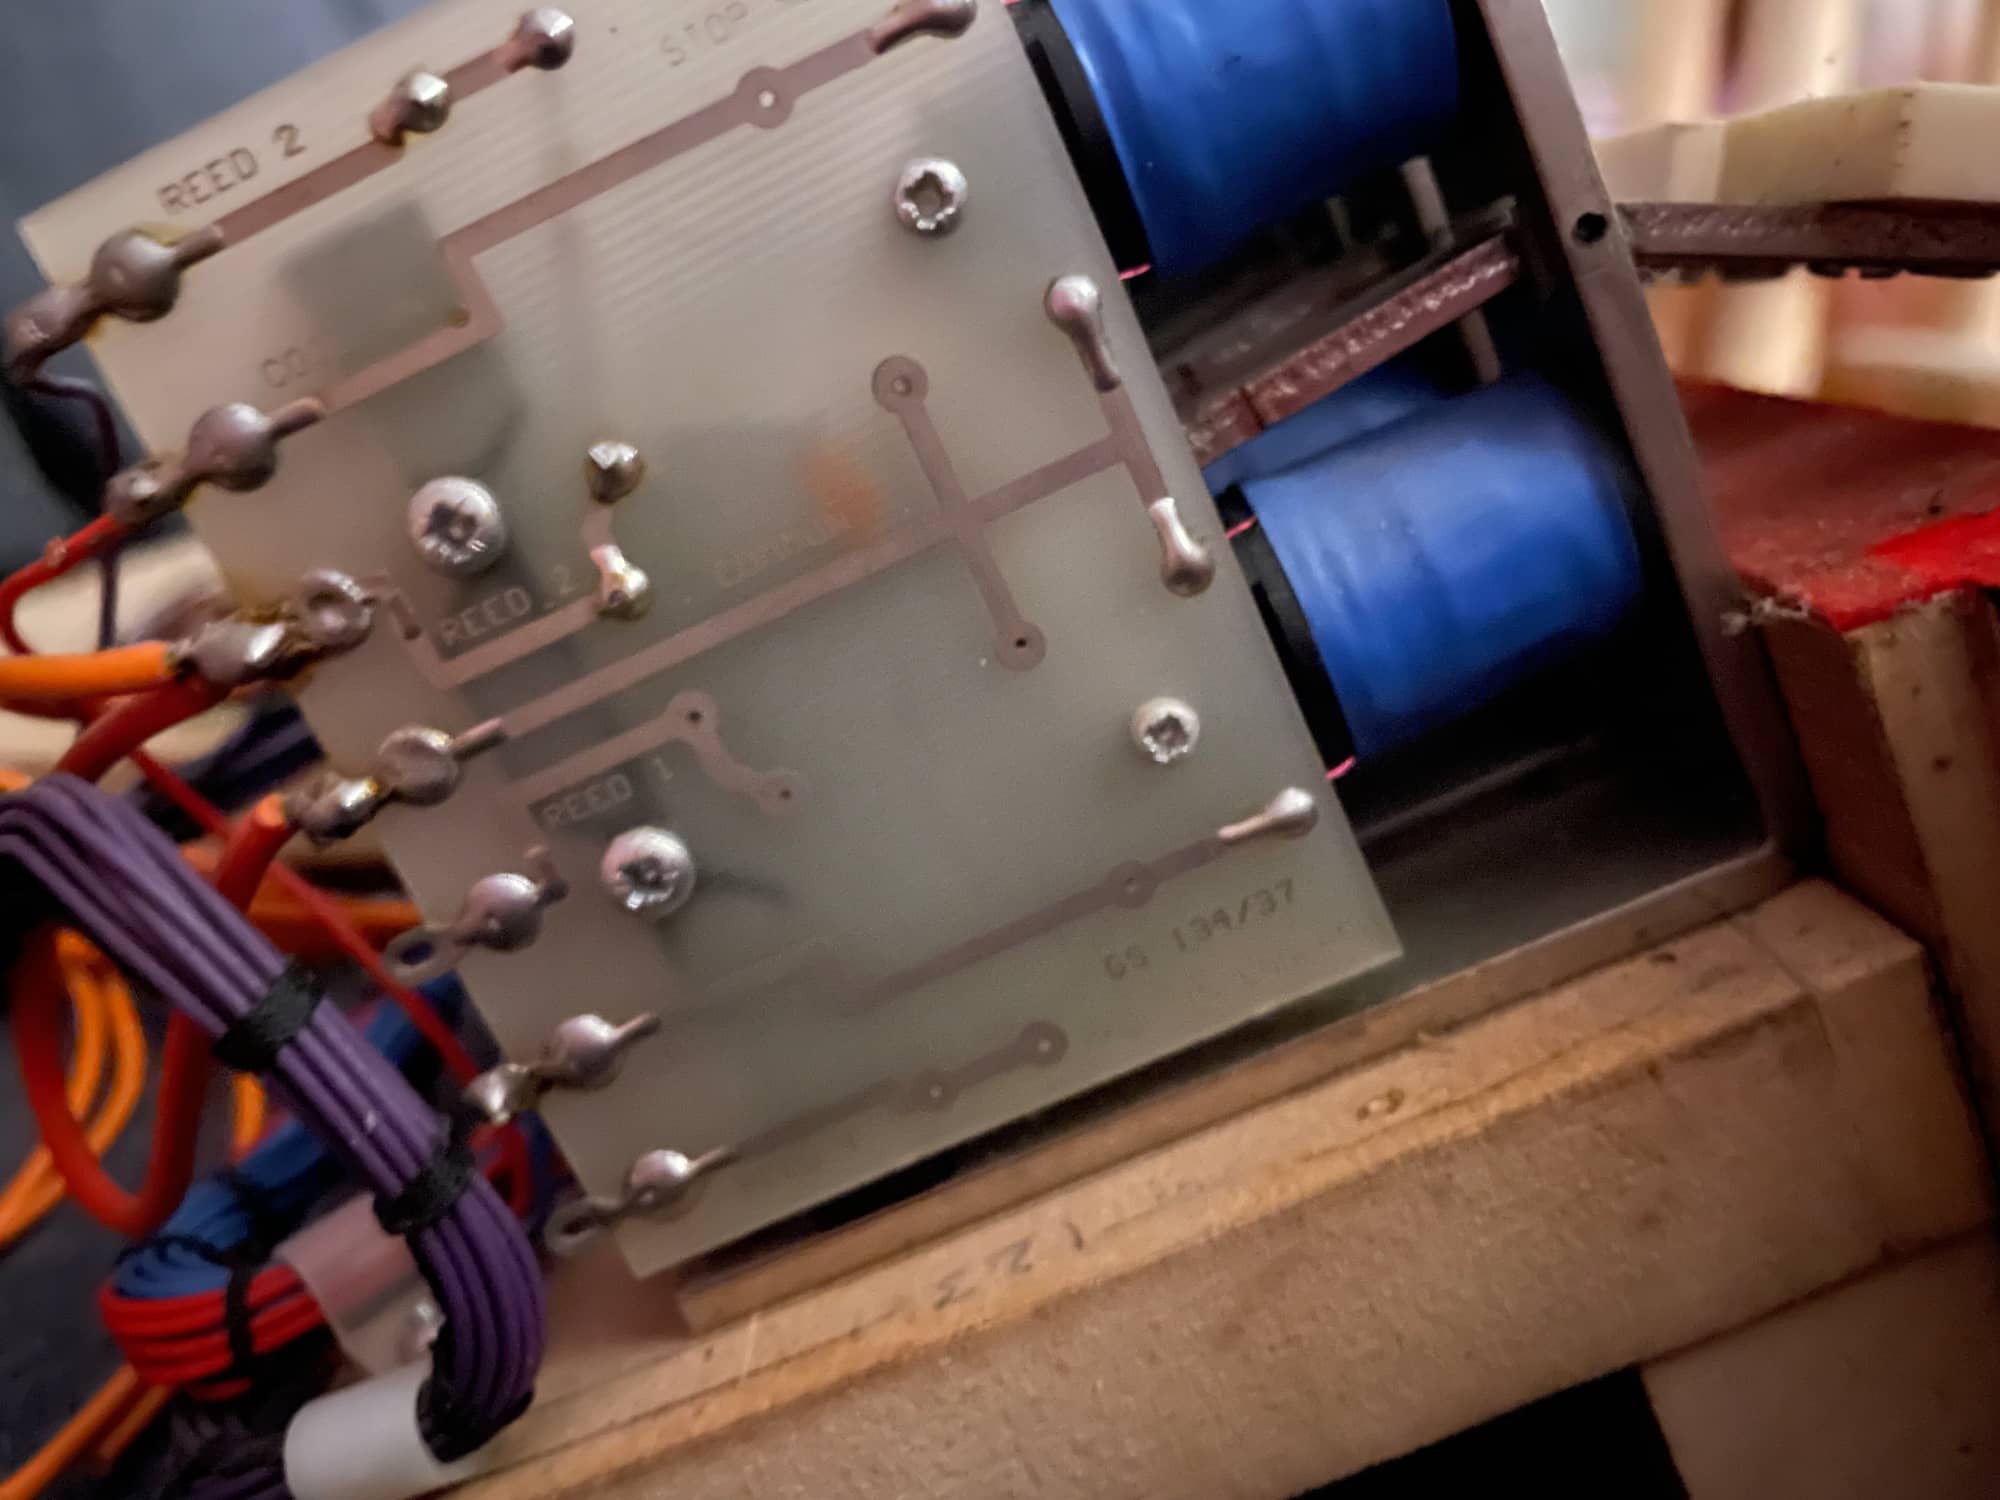
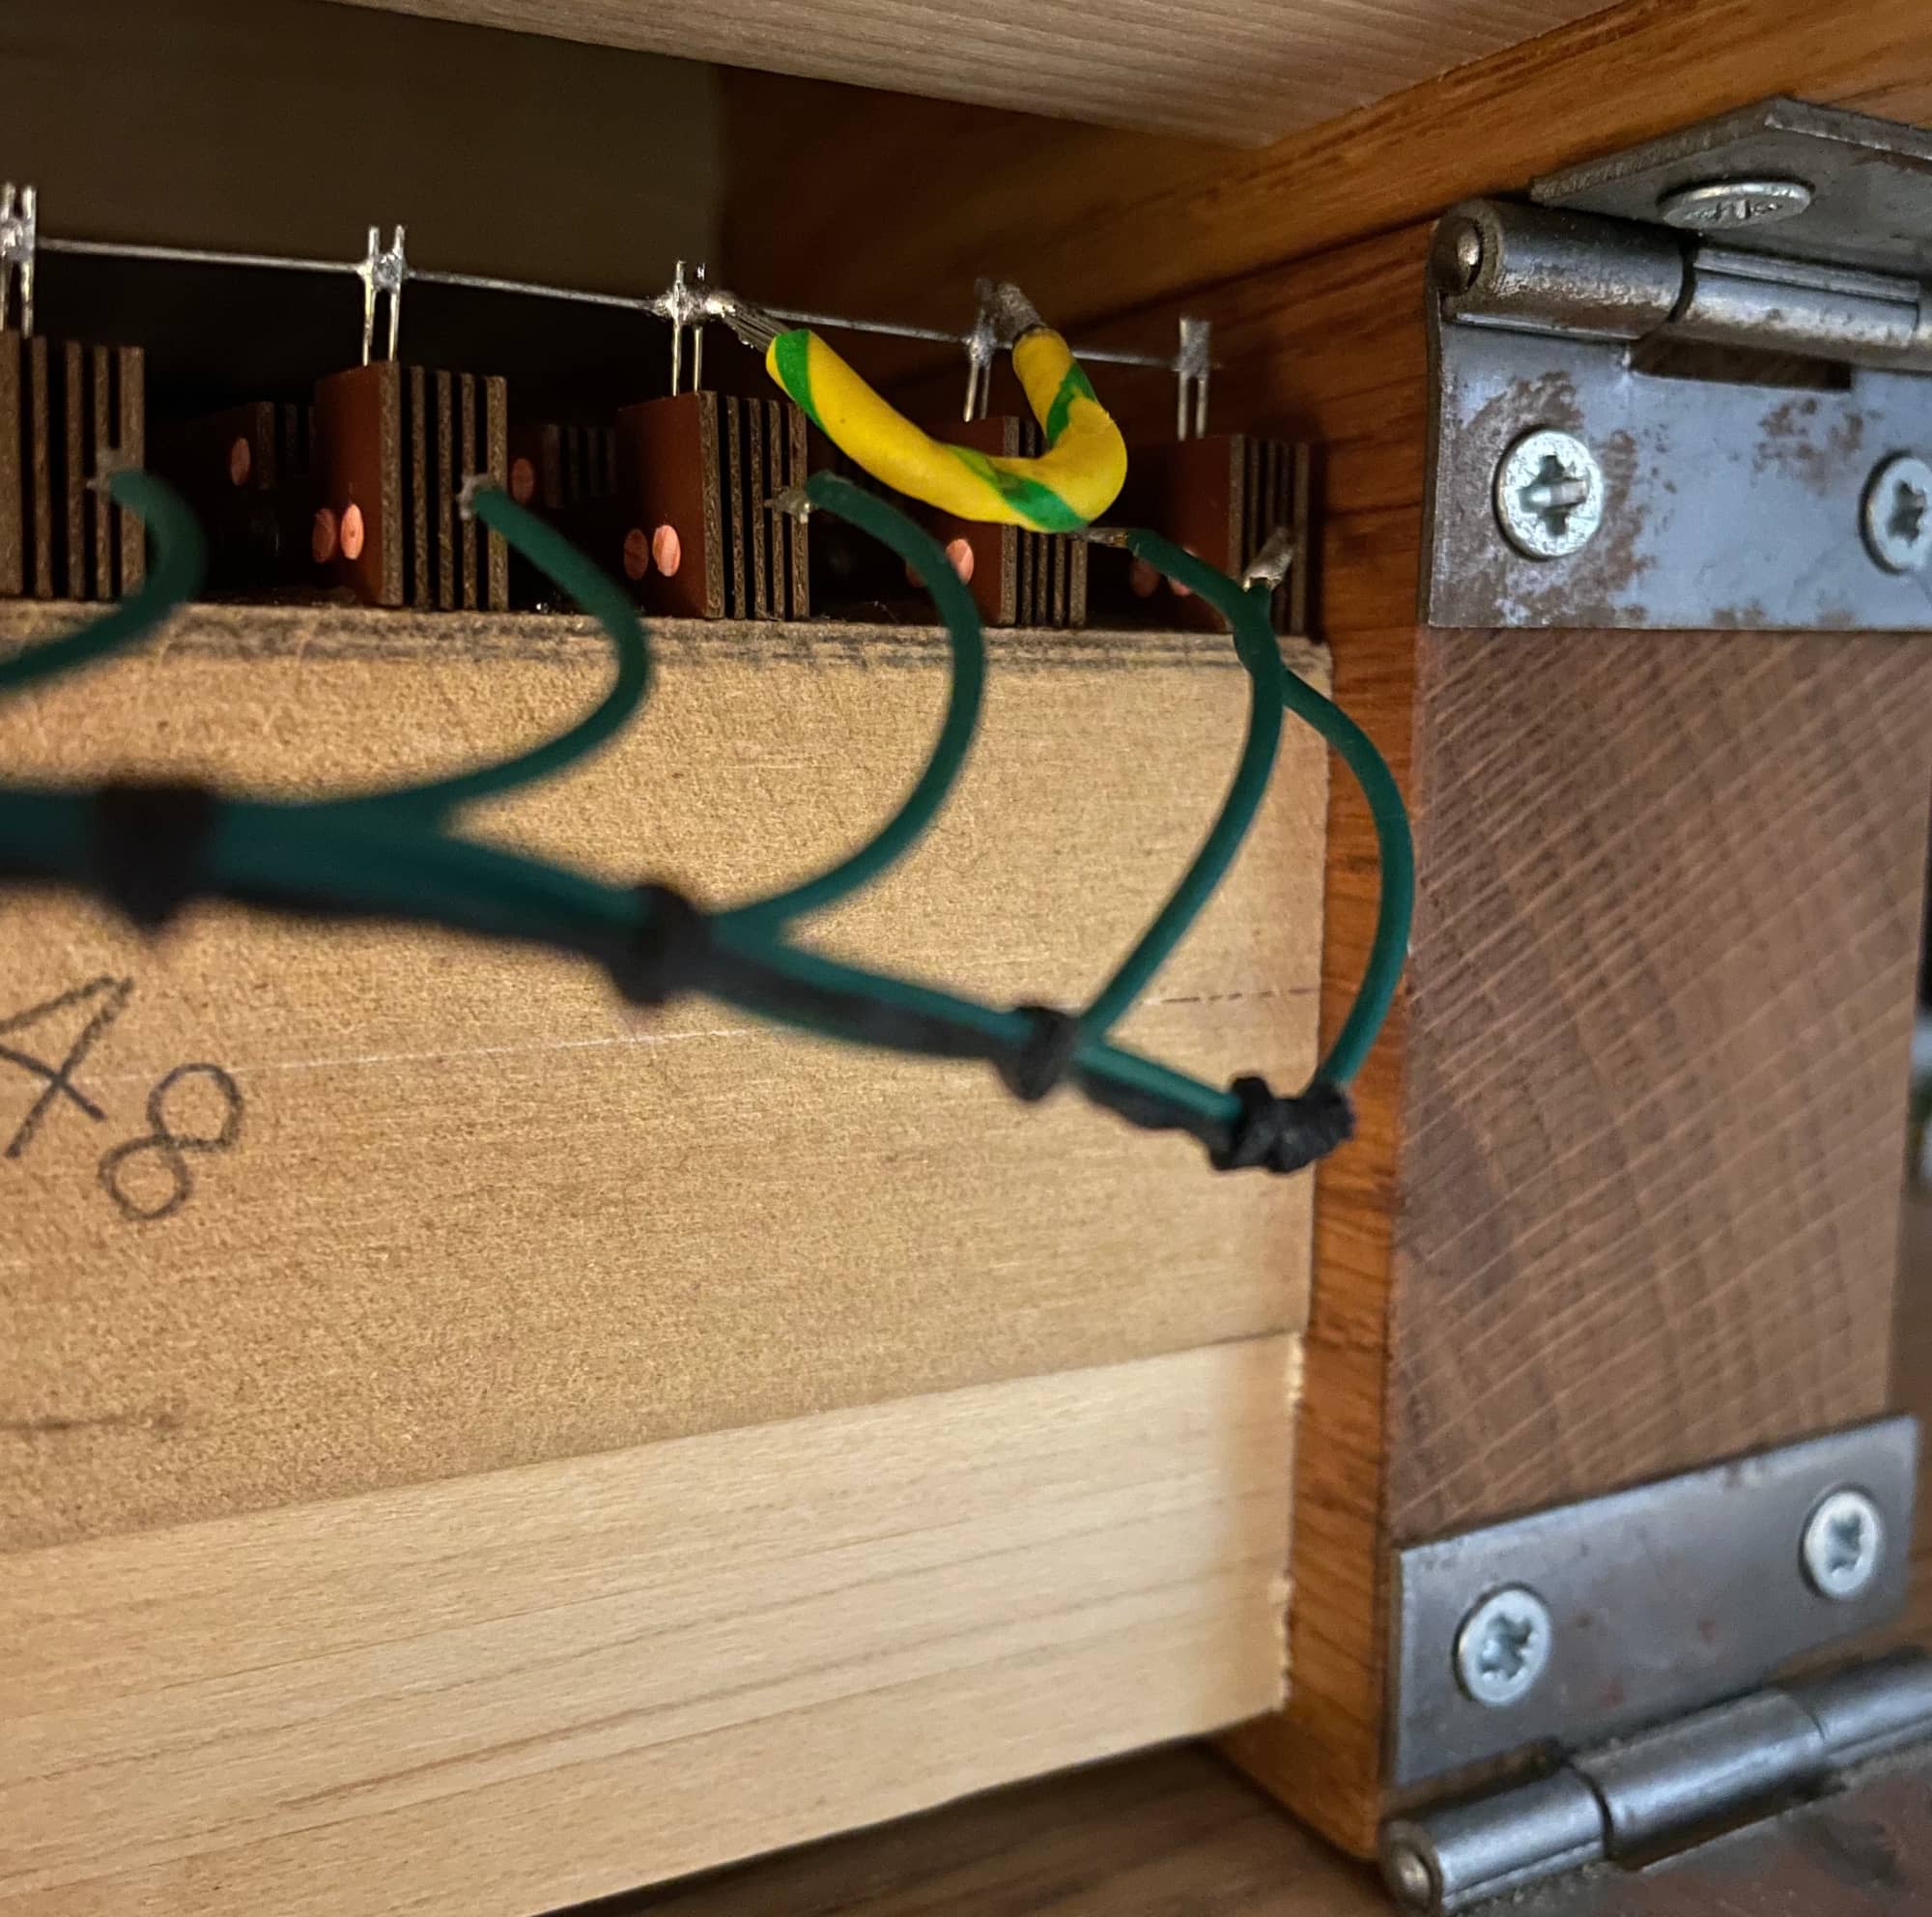
In the picture below, you can just about see the back of the key contact assemblies. The green cables are the 12v to each individual key, and the silver line above is the negative common bus. The small jumper that bridges the common bus between the C# and D notes was required as the fragile wire had broken and was not making connection. Thankfully, this was the only broken thing I encountered on this organ and while in an awkward spot, was a nice straightforward fix.
So which midi encoder to use? There are more available now than ever before with the world of Virtual Pipe Organs gaining popularity very quickly as an ideal and often cheaper way for people to get into playing the organ. As I required 12v keying above all else (trying to make 12v keying work with 5v will be tenuous at best, and not work at all at worst) and after comparing what was available locally and around the world, I settled on a British company in Hertfordshire called Osney Consulting and you can find their encoder at their eBay Link
Kevin at Osney was extremely helpful and answered any and all queries I had, and being an organist himself is positioned well to offer advice on organ conversions. After a quick chat I knew this would be the right encoder for me, so placed an order and the very next day my package with detailed instructions and a hand written note from Kevin arrived. The only additional part required is the DC power supply. The card takes 12v DC in order to feed this to the keys/pistons/etc so you will need to size the power supply appropriately. The encoder provides 15mA per contact. I settled on the 1.3A 12v Meanwell RS-15-12. It's worth noting that this encoder can do 12v common or negative common, switchable by a jumper on the PCB.
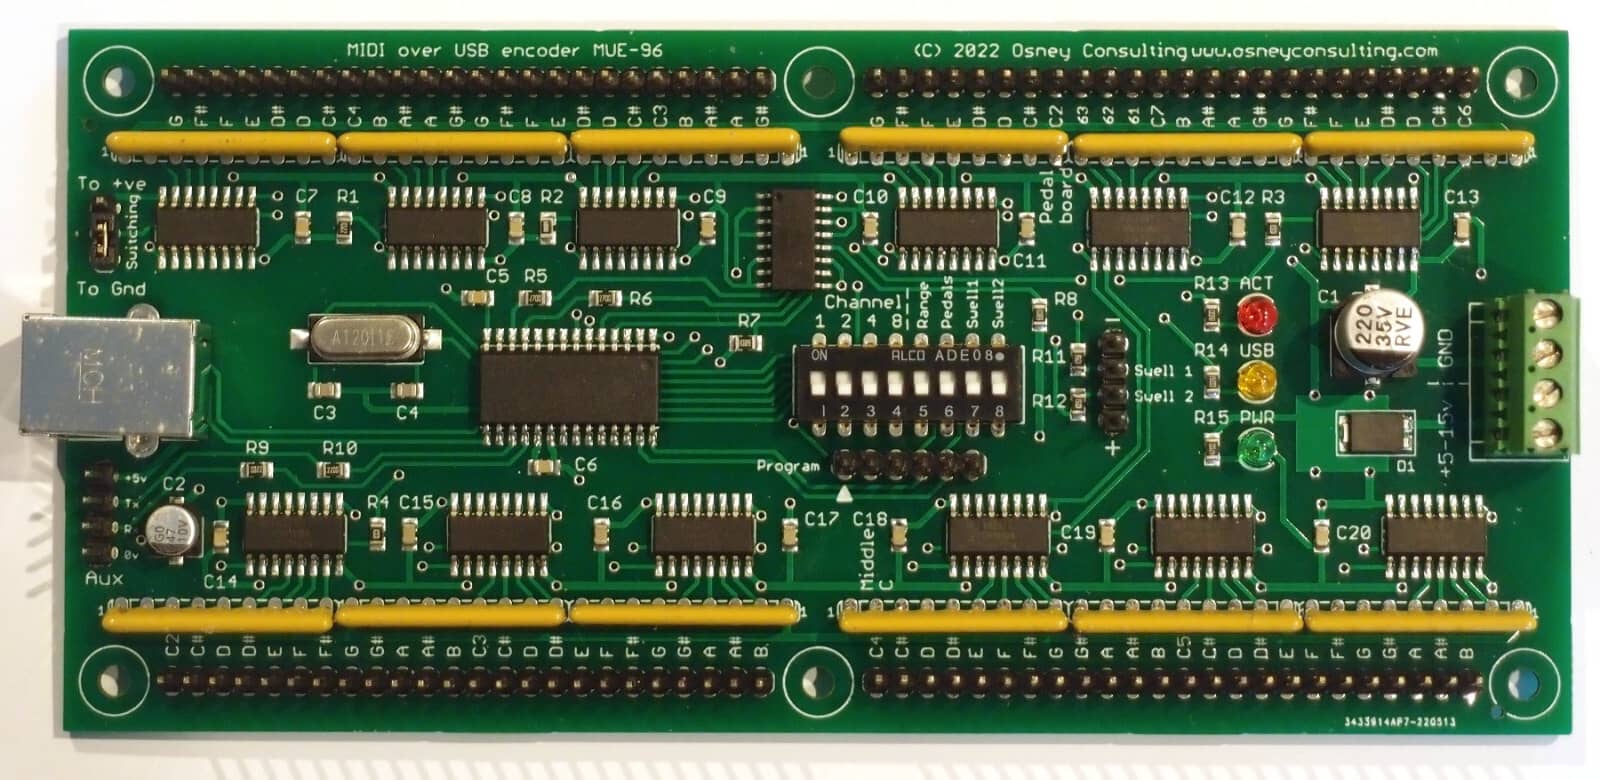
This is the MUE-96 which as its name suggests, has 96 total inputs with multiple configuration modes (changed with the onboard switches - no coding required!) so you could have this setup to encode an organ manual + a 32 note pedalboard, or an organ manual + other inputs such as pistons or none powered stop action tabs - effectively anything so long as it can deal with 12v. On the other end it has built in USB which is instantly recognised by the computer as a midi device.
Those of you quick at mental arithmetic will have already noticed that one encoder does not quite cover everything in a two manual, pedalboard and piston filled organ. I will order another of these encoders in a few months time. I have at the time of writing this blog completed phase 1 with one encoder, which has covered the great manual & the pedalboard (enough to practice with) and the next encoder will then cover the swell and pistons which will complete phase 2. Then with a different type of encoder, also provided by Osney Consulting to drive the stop action we'll complete the final phase 3 - but more on that when we get to it.
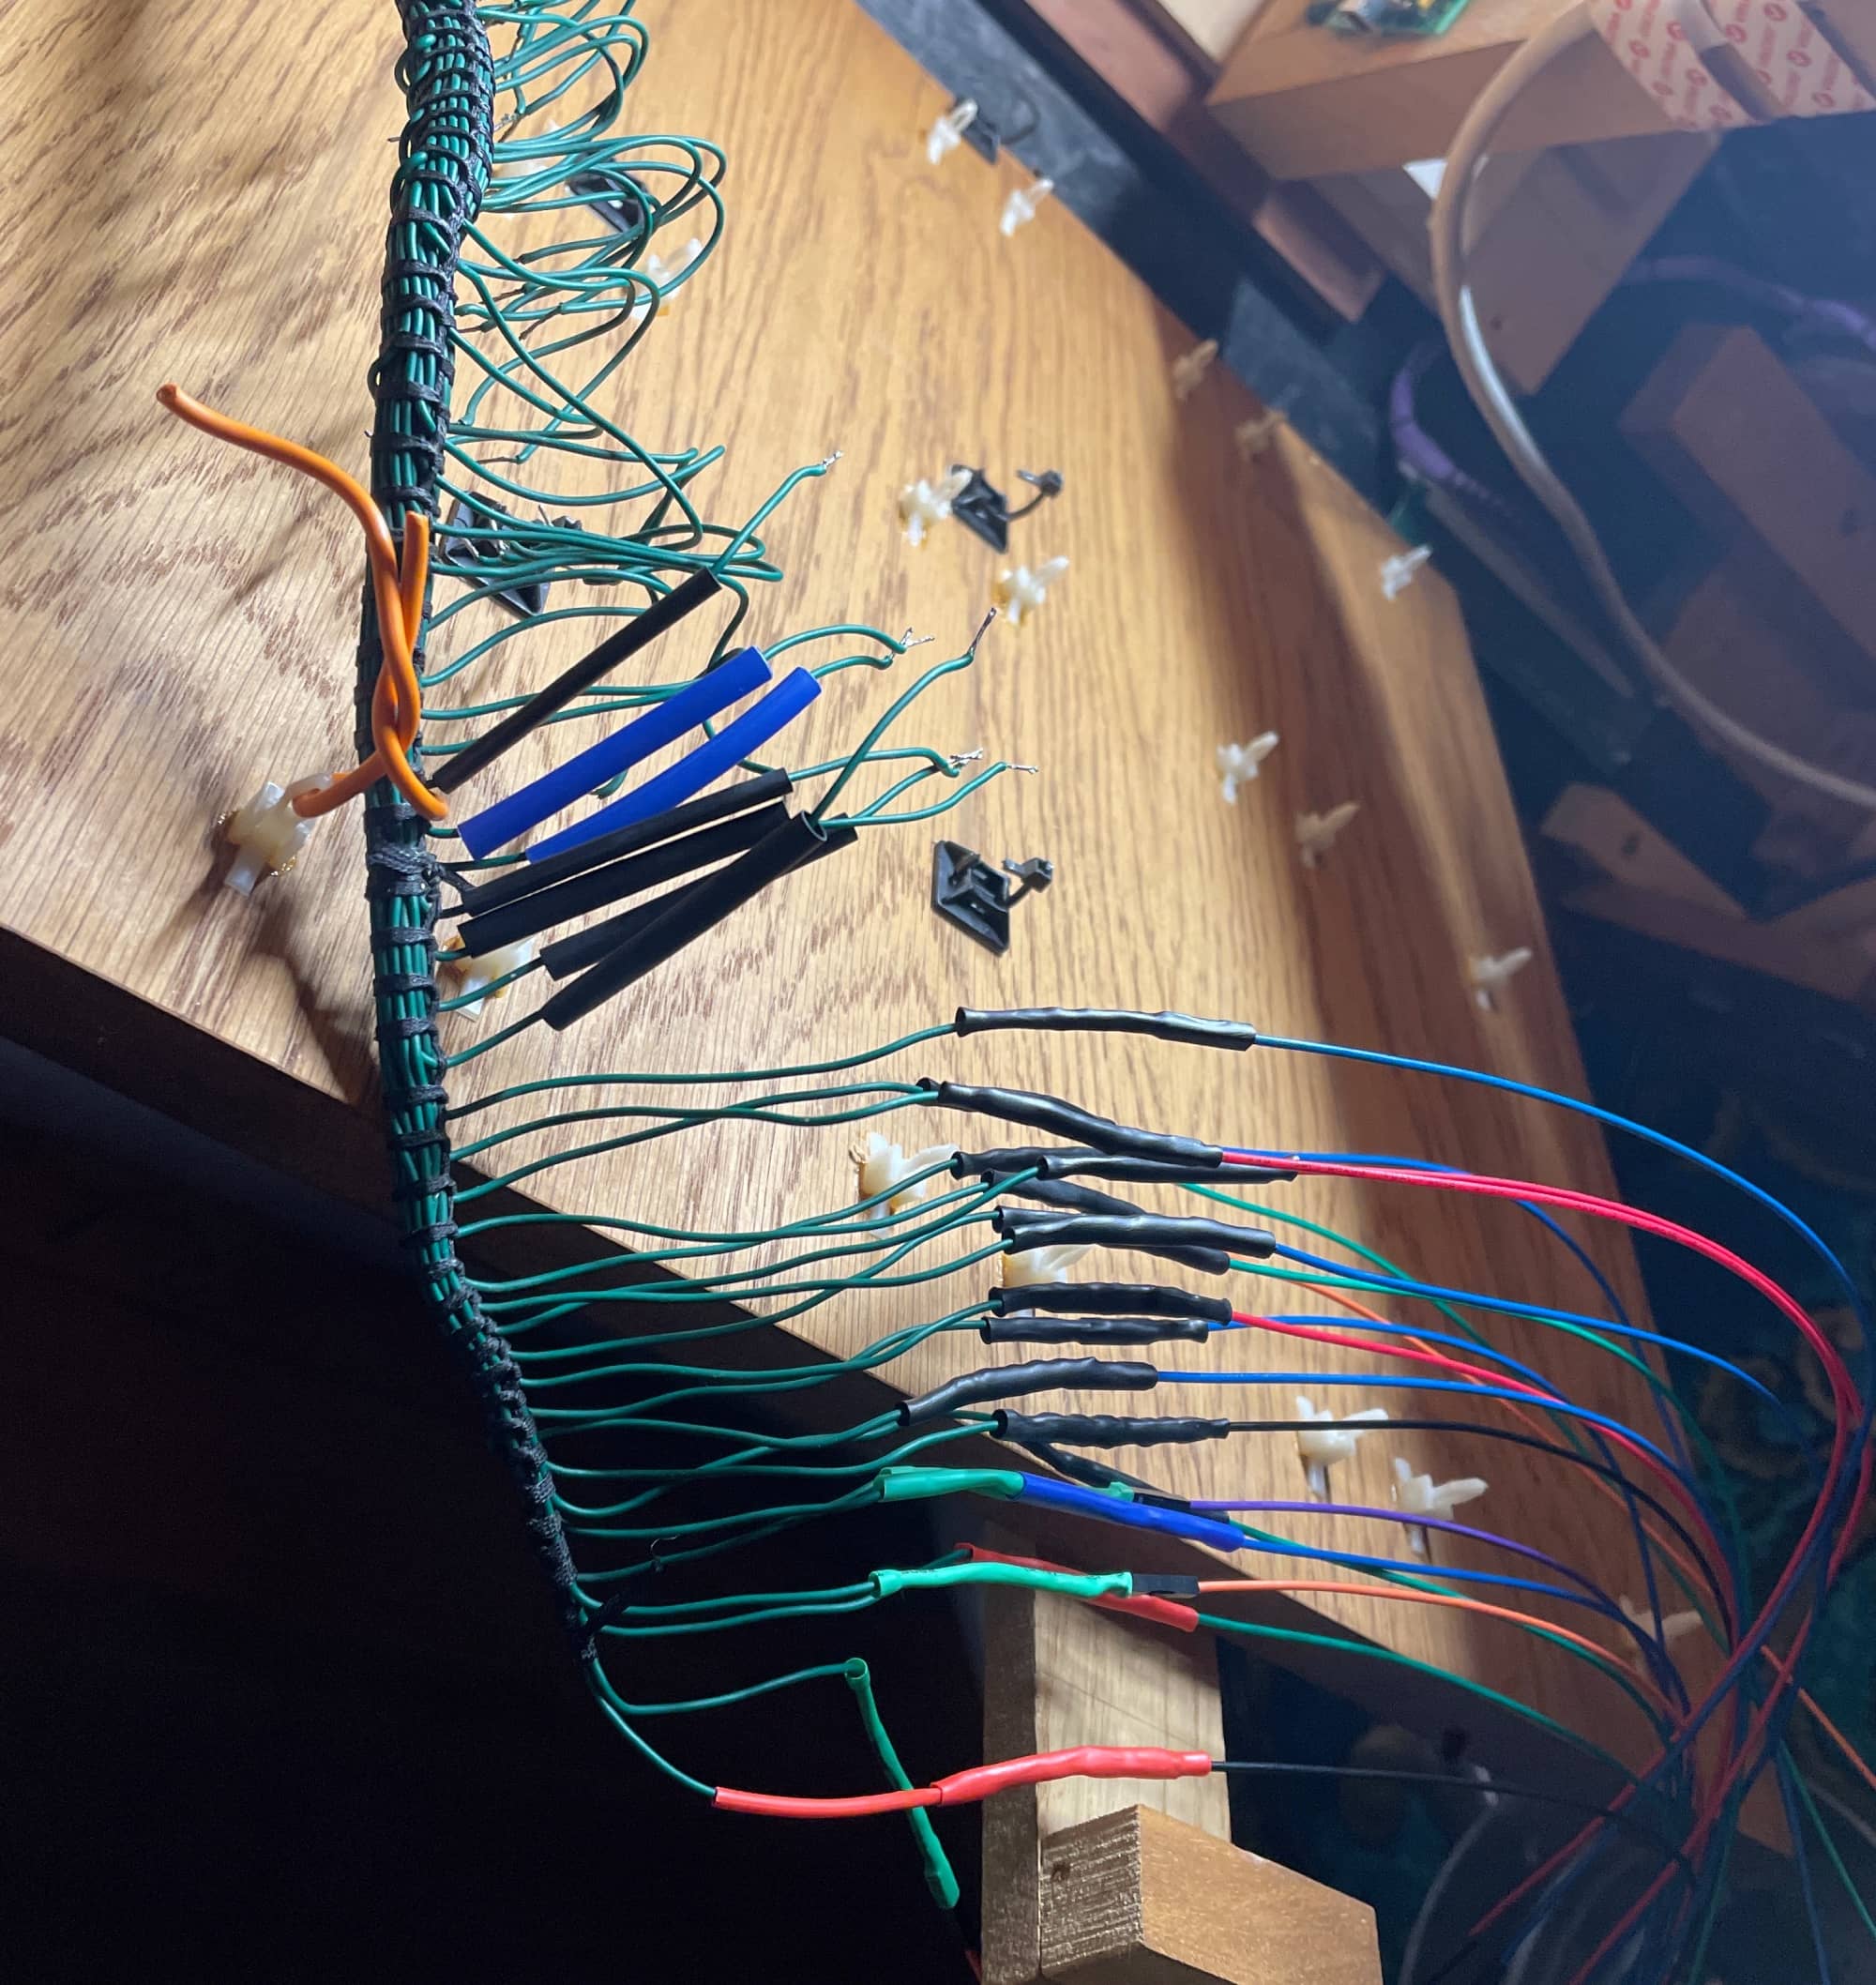
It was time to actually start organ building. As I was reusing the existing manual wiring looms, which had been cut to perfect lengths for the old digital organ setup, and this new encoder board had 0.1" headers that I did not really fancy trying to solder directly to I decided the easiest route forward was to extend the manual looms with premade Dupont jumper cables. This meant several hours of soldering, making sure every single connection was as strong as it could be and subsequently (also: badly) heat shrunk some tubing over the connections for electrical insulation and mechanical protection. While this did ultimately work, and was easy enough to subsequently connect to the encoder board I did choose slightly too long dupont jumpers which had to be kept tidy and supported as to not put pressure on the encoder pins themselves.
I'm not great at soldering, so this part of the build took almost as long as putting the whole console back together and was done over 2 days. After soldering about 5 notes worth of cables, a small test was in order to make sure everything worked as intended. I plugged everything in, almost expecting it to go pop and let out the magic smoke but to my delight - it just worked!
The only downside to which meant that I did indeed now have to keep soldering. By this point the console had returned to very heavy lump status and as a result I'd placed it as close to where it was going to be when finished as possible, leaving my working quarters behind the organ a little on the tight side.
This next bit was occasionally frustrating owing to tight gaps & leaning at spine twisting angles - but what great project is without those moments? After finishing soldering all of the great manual extensions/jumpers it was time to start plugging them into the board.
Now one thing to note is that the board expects each key in a specific pin (which is marked on the board and can be seen on the picture above) and doing this in a tight awkward spot, stuffed behind my organ meant that I had entirely missed one note when connecting it up. The lower half of the great manual was perfect! But then it skipped a note and everything was off by one, so I had to unplug half of them and redo. Once that was all confirmed working, it was time to give the pedal wiring loom the same treatment - here the longer dupont jumper cables benefitted as the existing wiring was very on the short side.


At this point the organ was fully playable - a few of the notes needed a minute or two of repeated playing to wear the patina and oxide buildup from the contacts but have since been flawless. There were still several jobs to do inside the organ, primarily being tidying up the cabling but the core of phase 1 was now complete and organ practice was firmly within arms reach.
Tidying Cables
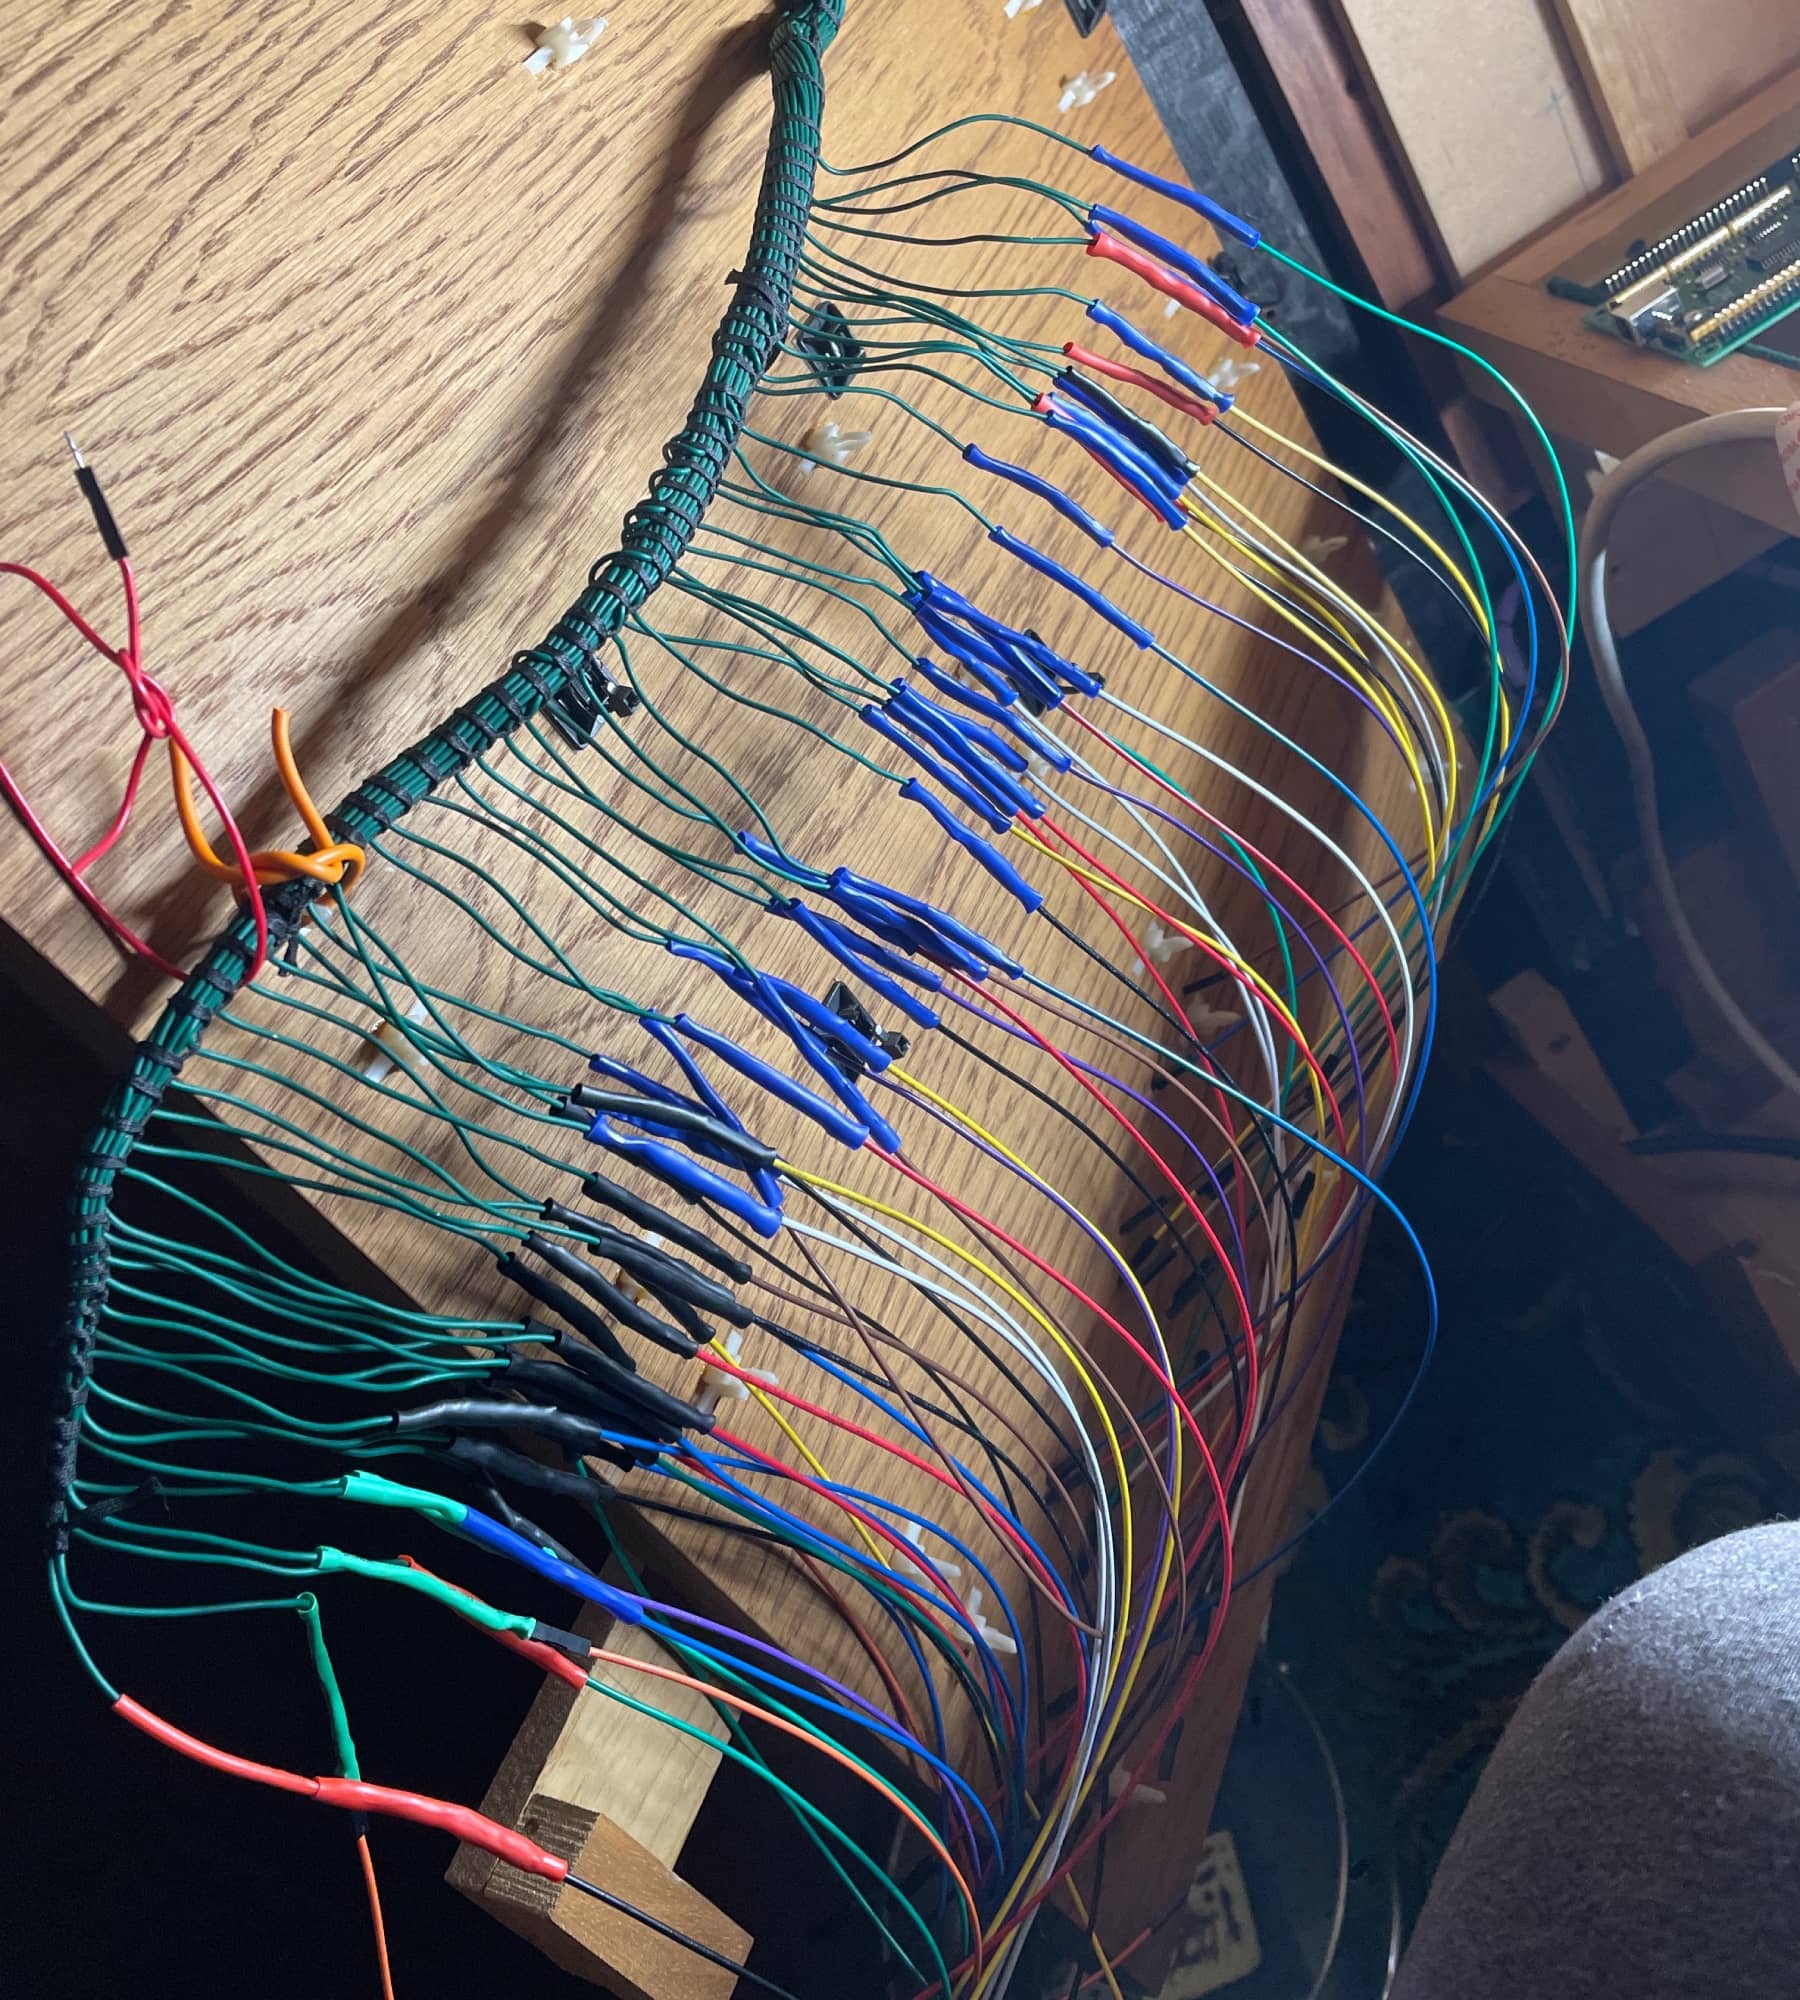
Given that this was only phase 1 complete of 3 total phases, nothing within the console is likely to be in its final location so everything has only been temporarily put in for now, cables held with velcro wraps ready to be moved again later but a little tidy was definitely still required. The orange cables are all the bus returns going back to a common ground point, and the two bundles of cables at the bottom are the piston cables ready for phase 2.
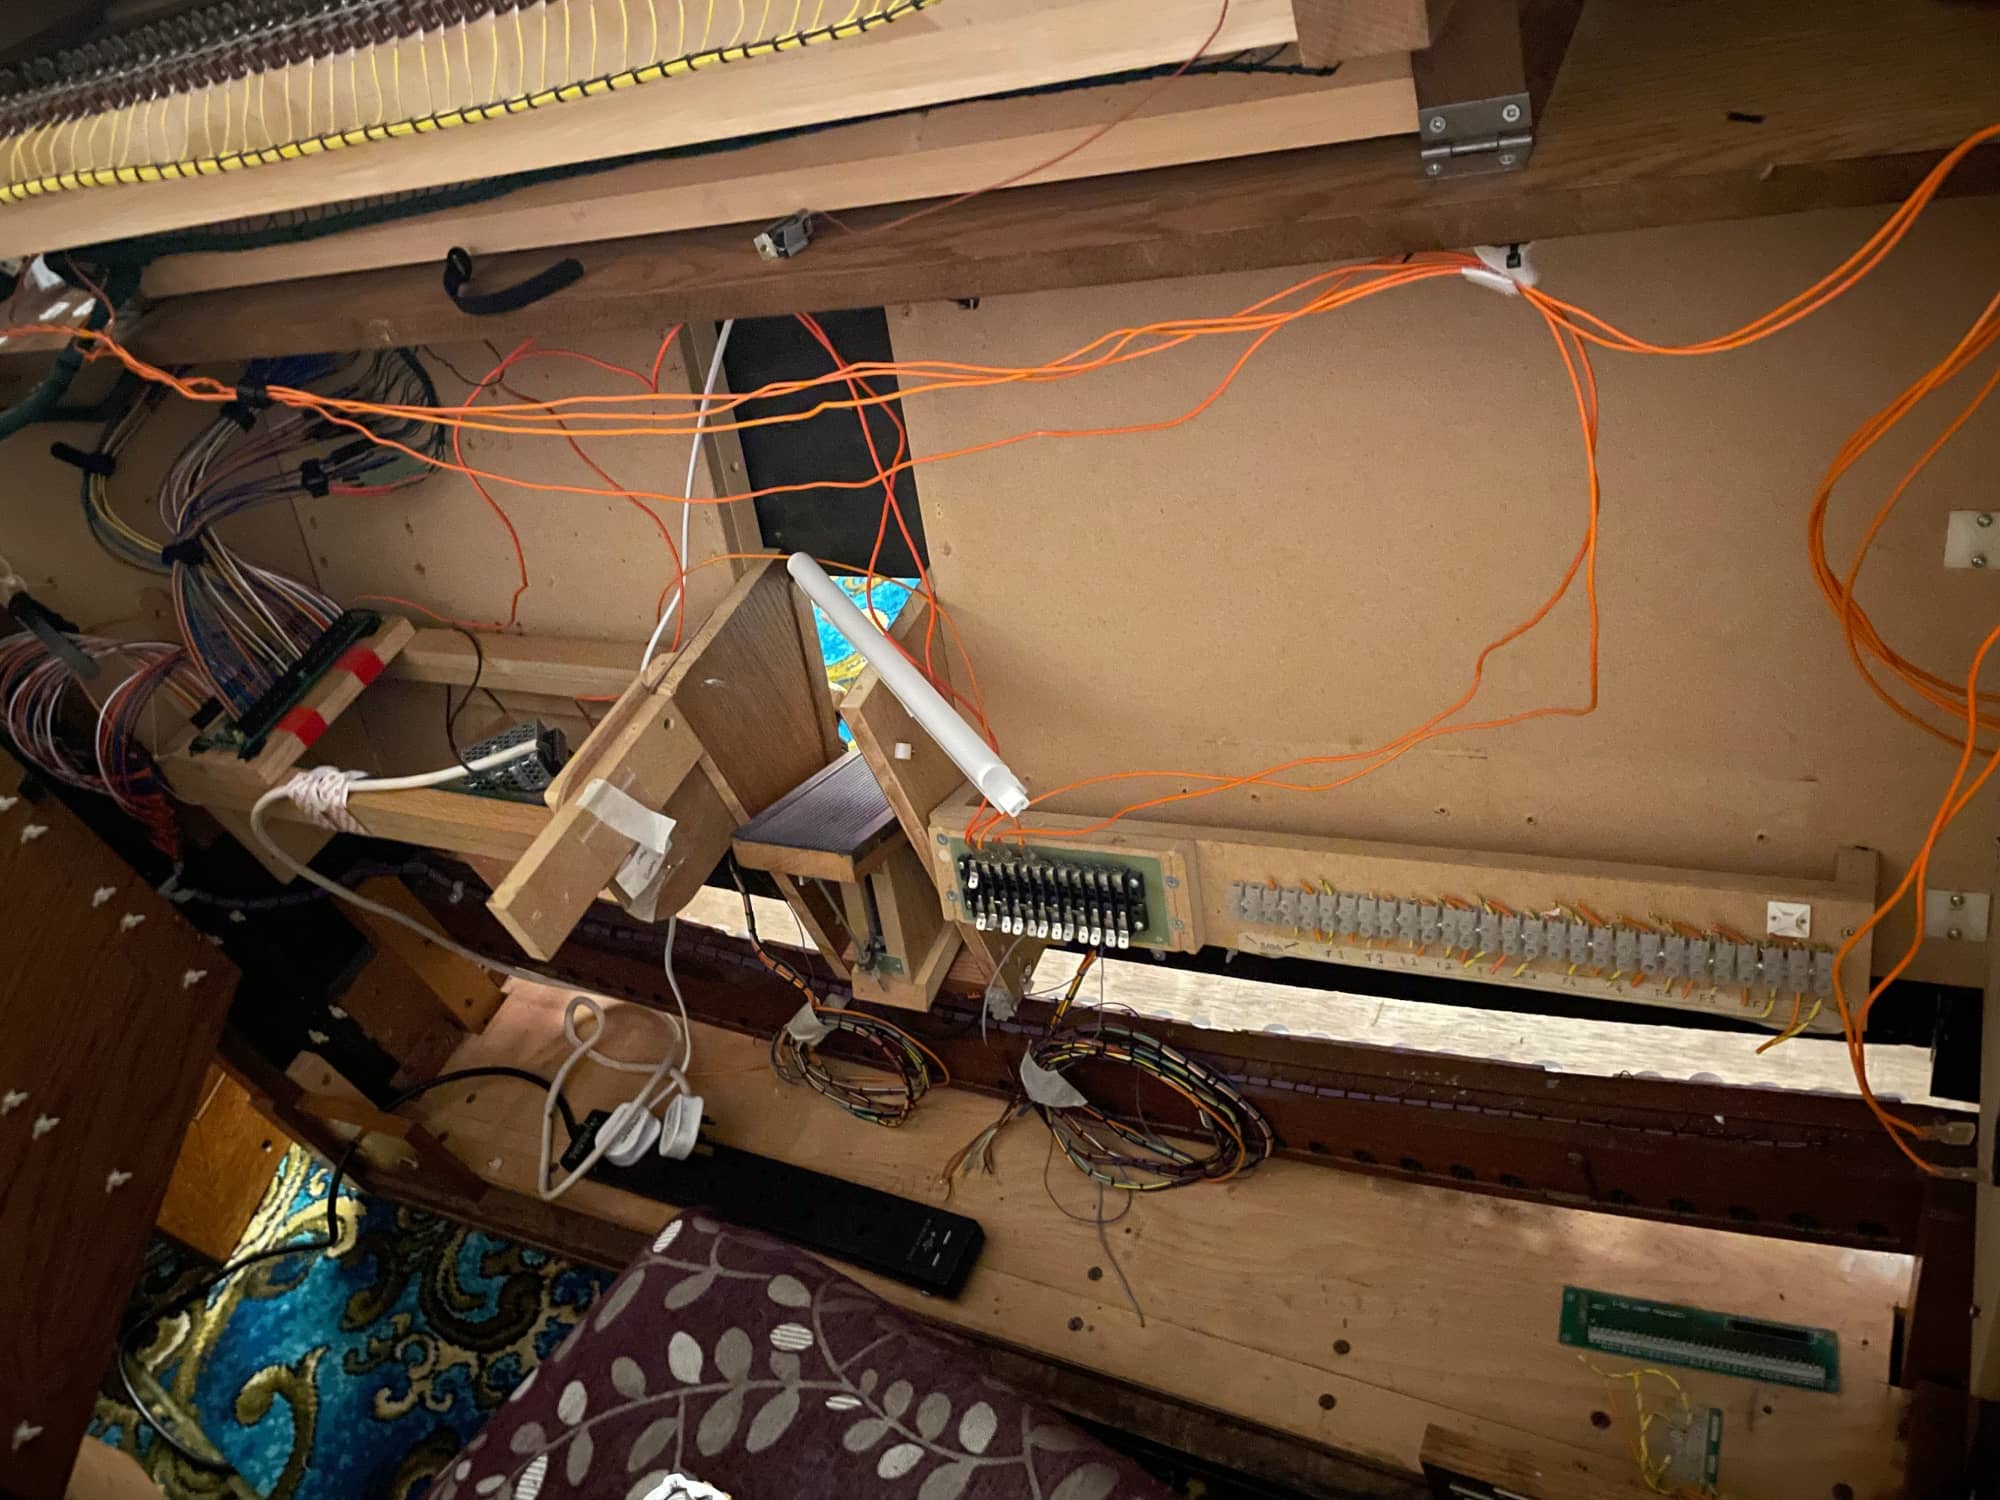
A little bit of cable management, putting the light back under the manuals for the pedalboard and wrapping up excess length of cable went a long way to making it look better. Once all components have been installed the wiring runs will all be perfectly tucked away and with luck, the tidiness will match that of the original builder.

All that was left to do was try and coerce the console into the bay window where it has been since, playing beautifully and would be at home in any grand church setting.
